
How to Hide Outdoor Lighting Wires: 7 Methods
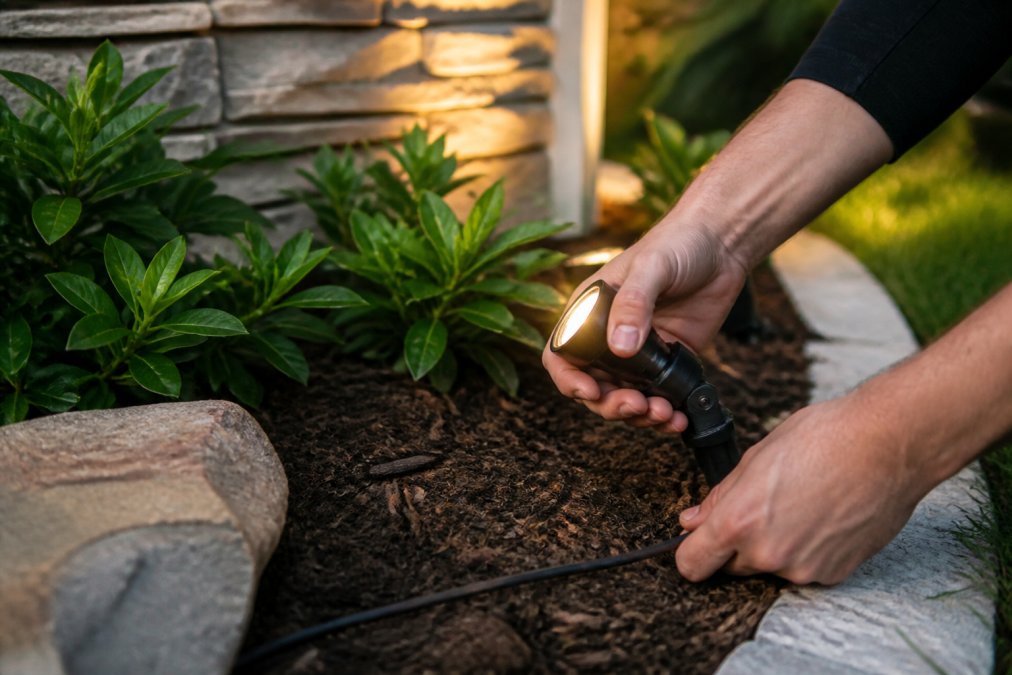
Table of Contents
- Why Hiding Outdoor Lighting Wires Matters
- Burying Landscape Lighting Wire Depth and Trench Methods
- Outdoor Wire Conduit Options for Protection
- Landscaping and Mulch Camouflage Techniques
- Routing Wires Under Deck Joists and Hardscaping
- Best Low-Voltage Outdoor Lighting Fixtures for Concealed Wiring
- Safety Precautions and Electrical Code Compliance
- Common Mistakes to Avoid When Hiding Outdoor Wires
- Frequently Asked Questions
Last Updated: September 22, 2026
Why Hiding Outdoor Lighting Wires Matters
Visible wires ruin outdoor lighting installations and distract from the glow you've created, which is why learning how to hide outdoor lighting wires matters. Hidden wires transform your landscape from messy to polished.
The difference between professional and amateur installations almost always comes down to wire management. Visible wires cheapen the effect, regardless of fixture quality.
Proper concealment protects your wiring investment from weather damage, UV degradation, and physical damage. Hidden wires last longer and perform more reliably.
Concealed wiring also keeps your property safer by eliminating trip hazards and preventing damage from lawn equipment, making it essential to hide outdoor lighting wires properly. Properly hidden outdoor lighting wires reduce these risks significantly.
Burying Landscape Lighting Wire Depth and Trench Methods
How Deep to Bury Low-Voltage Cable
Low-voltage landscape lighting wire should be buried 6 inches deep for most residential applications, deep enough to protect from foot traffic and equipment without excessive digging.
For heavy foot traffic areas or future landscaping work, bury 8-12 inches deep to prevent accidental damage.
In freeze-thaw climates, deeper burial prevents heaving that exposes cables.
Check local electrical codes before digging. Some jurisdictions have specific requirements for outdoor-rated cable depth. Your local utility company can also mark existing underground lines to prevent dangerous contact.
Trenching Tools and Installation Steps
A flat-blade shovel works for most soil types, while a trenching spade cuts cleaner lines with less effort.
For runs longer than 50 feet, a power trencher saves time and effort. Rental companies offer daily rates, and machines cut consistent 3-4 inch wide trenches.
Steps for burying landscape lighting wires:
- Mark your trench line with spray paint or string
- Start digging at your transformer location
- Work toward each light fixture in a logical path
- Keep the trench width narrow (3-4 inches) to minimize lawn damage
- Place the direct-burial wire in the bottom of the trench
- Backfill gradually, pressing soil firmly around the wire
- Water the area lightly to settle the soil
Direct-burial wire is rated for underground installation without conduit. Its tough outer jacket resists moisture and UV damage, making it the most economical choice for simple burial.
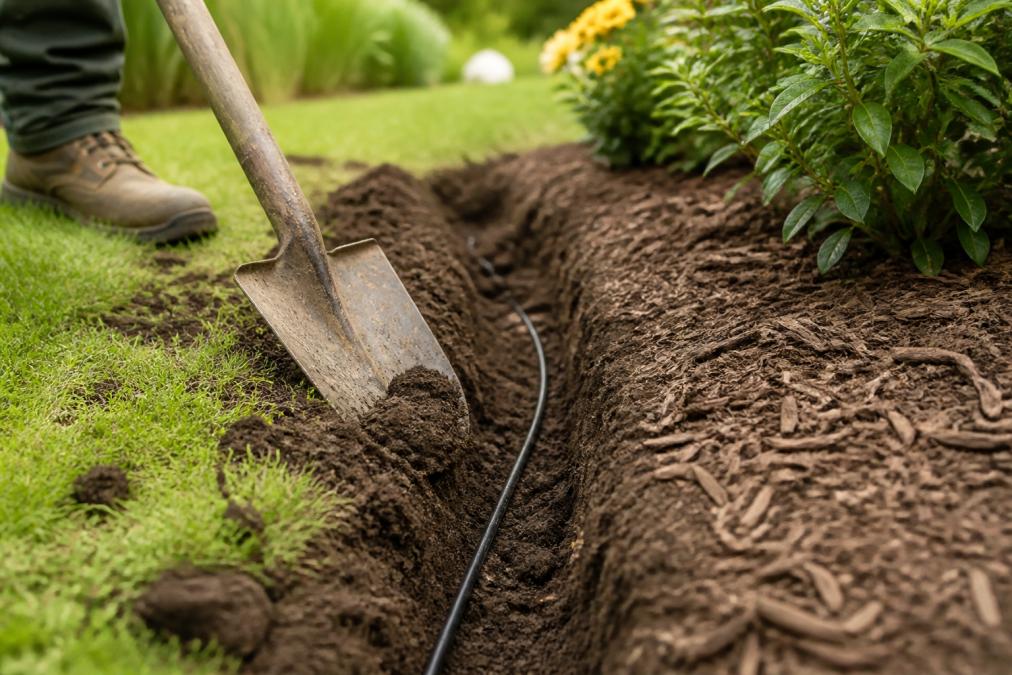
The process typically takes 4-6 hours for average residential properties; complex layouts take longer.
Outdoor Wire Conduit Options for Protection
PVC Conduit Installation
PVC conduit shields wires from soil, rocks, and roots while remaining affordable and DIY-friendly.
Rigid PVC conduit comes in 1/2 inch and 3/4 inch sizes; 1/2 inch works for most residential applications.
Lay PVC conduit in your trench before placing wire inside. Conduit adds 2-3 inches to trench depth.
PVC fittings (elbows for 90-degree turns, couplings for straight sections) route wires around obstacles. Use UV-resistant PVC rated for outdoor burial.
Seal the ends of conduit sections with end caps to prevent moisture and insects from entering. Proper sealing extends the life of your wiring significantly.
Flexible Conduit and Cable Clips
Flexible conduit bends around obstacles without fittings, though it costs more than rigid PVC.
Split conduit allows you to thread existing wire without disassembly, simplifying retrofits.
Cable clips secure wires along surfaces like deck joists and fence posts. Space them every 12-18 inches.
Use UV-resistant clips designed for outdoor use. Standard indoor clips degrade quickly in sunlight. Outdoor-rated clips maintain flexibility and grip for years.
Landscaping and Mulch Camouflage Techniques
Mulch beds hide wires effectively while improving appearance. Lay wire on soil and cover with 2-3 inches of mulch for protection and accessibility.
Mulch concealment works best in planting beds and under shrubs. Refresh annually to maintain coverage.
Dark mulch hides wires better than light colors. Hardwood mulch lasts longer and cedar adds insect deterrent properties.
Landscape fabric under mulch prevents wires from sinking into soil while allowing water drainage. This combination keeps wires accessible and protected long-term.
Low-growing ground covers like sedum or creeping phlox hide wires while tolerating foot traffic and requiring minimal maintenance.
Rock and gravel beds provide camouflage. Lay wire on landscape fabric, then cover with decorative rock for modern landscapes.
Routing Wires Under Deck Joists and Hardscaping
Run cable along the underside of deck joists where it's hidden from view and protected from foot traffic and weather.
Secure wires to joists with cable clips spaced 12-18 inches apart to prevent sagging and keep wires organized.
For existing decks, drill access holes through the rim board and seal around conduit with waterproof caulk.
Hiding Wires on Existing Concrete and Stone Hardscaping
Existing patios, walkways, and stone hardscaping present the biggest retrofit challenge, digging is either impossible or will damage the surface. This is where most homeowners struggle, and it's rarely addressed in basic guides.
Surface-mounted conduit along perimeter edges is the most practical solution. Run PVC or flexible conduit along the outer edge of your patio, following the line where it meets lawn, planting beds, or fence. Paint or stain the conduit to match your landscape (gray, brown, or black are standard). While visible, well-installed conduit along a perimeter looks intentional rather than improvised. This approach works especially well when you can route wires behind planters or landscape edging that partially obscures the conduit.
Conduit routed up fence posts or building walls eliminates ground-level visibility entirely. If your hardscape is adjacent to a fence line or house wall, run conduit vertically up the structure to reach fixtures mounted on posts or eaves. Secure with outdoor-rated clips every 12 inches. This method works beautifully for accent lighting on patios and is the standard approach for professional installations where hardscape prevents burial.
Decorative cable channels and raceways offer a finished appearance on concrete. Aluminum or PVC cable channels mount flush to the surface and can be painted to blend with your patio color. These are more expensive than simple conduit but create a polished, intentional look. They're particularly effective along the edge of a patio or along a step riser.
Landscape edging and planter boxes can conceal surface-mounted conduit. Position rigid conduit along the base of a raised planter bed or behind decorative landscape edging. The edging or planter naturally hides the wire path while allowing access for maintenance. This approach integrates wire management into your landscape design rather than treating it as a separate problem.
Under-surface routing for new hardscape installation is worth mentioning if you're planning a patio replacement or new walkway. Before pouring concrete or laying pavers, install conduit in the base layer. This allows complete wire concealment in new construction. If you're considering a future hardscape project, plan wire routes now and install conduit before the surface is finished.
Mulch and ground cover along hardscape edges can partially hide surface conduit. If you have planting beds adjacent to your patio, extend mulch coverage to the conduit line.
Best Low-Voltage Outdoor Lighting Fixtures for Concealed Wiring
Low-Voltage vs. Line-Voltage: Understanding the Safety and Installation Difference
Before selecting fixtures, you must understand the fundamental difference between low-voltage and line-voltage systems, this determines whether you can safely hide wires yourself or need a licensed electrician.
Low-Voltage Fixture Types and Wire Concealment Advantages
Low-voltage systems are ideal for homeowners managing their own wire concealment. Most residential landscape lighting uses low-voltage systems because they're safe, affordable, and easy to install.
Choosing Fixtures to Minimize Wire Visibility
Prioritize fixtures that mount on structures (posts, railings, trees, walls) rather than ground-level fixtures. Structure-mounted fixtures allow vertical wire routing where wires are naturally hidden.
Safety Precautions and Electrical Code Compliance
Install GFCI protection at your transformer or main power source. A GFCI outlet detects ground faults and cuts power instantly.
Common Mistakes to Avoid When Hiding Outdoor Wires
Burying wire too shallow is the most common error. Stick to the 6-inch minimum depth for residential applications.
Frequently Asked Questions
How deep should landscape lighting wire be buried?
Low-voltage landscape lighting wire should be buried 6 to 12 inches deep. Direct-burial wire rated for outdoor use can be placed at the shallower end if protected by conduit or mulch. If running under high-traffic areas or where digging might occur, aim for 12 inches. Always check local electrical codes, as some jurisdictions require deeper installation. Use a trenching tool to create a clean channel and avoid damaging existing utilities before you dig.
Is it safe to bury low-voltage landscape lighting wire without conduit?
Yes, direct-burial cable rated for outdoor use can be buried without conduit, but conduit adds durability and protection against UV damage, rodent chewing, and accidental punctures. Low-voltage systems (typically 12V) are safer than line-voltage wiring, but using PVC or flexible conduit extends the lifespan of your installation and prevents future problems. If you choose not to use conduit, ensure the wire is rated for direct burial and meets electrical code requirements.
What's the best way to hide outdoor lighting wires in existing landscapes?
For retrofitting existing landscapes, trenching through mulch beds is the fastest method. Run conduit along deck joists if wiring near structures. Use landscape fabric and mulch to camouflage surface runs. Planters can conceal junction boxes and wire connections. If digging isn't feasible, surface-mount conduit painted to match your landscape or wrapped with UV-resistant materials keeps wires protected and less visible. Combine methods for the cleanest appearance.
How do I protect outdoor lighting wires from weather and UV damage?
Use UV-resistant, outdoor-rated conduit (PVC or flexible options) to shield wires from sun exposure and moisture. Bury cables 6 to 12 inches deep in trenches for maximum protection. Ensure all junction boxes and wire connectors are weatherproof and GFCI-protected if near water sources. Backfill trenches completely and use cable clips to secure surface-mounted runs. Regular inspection helps catch wear early, preventing failures from weather exposure.