
How to Illuminate Garden Pathways for Safety
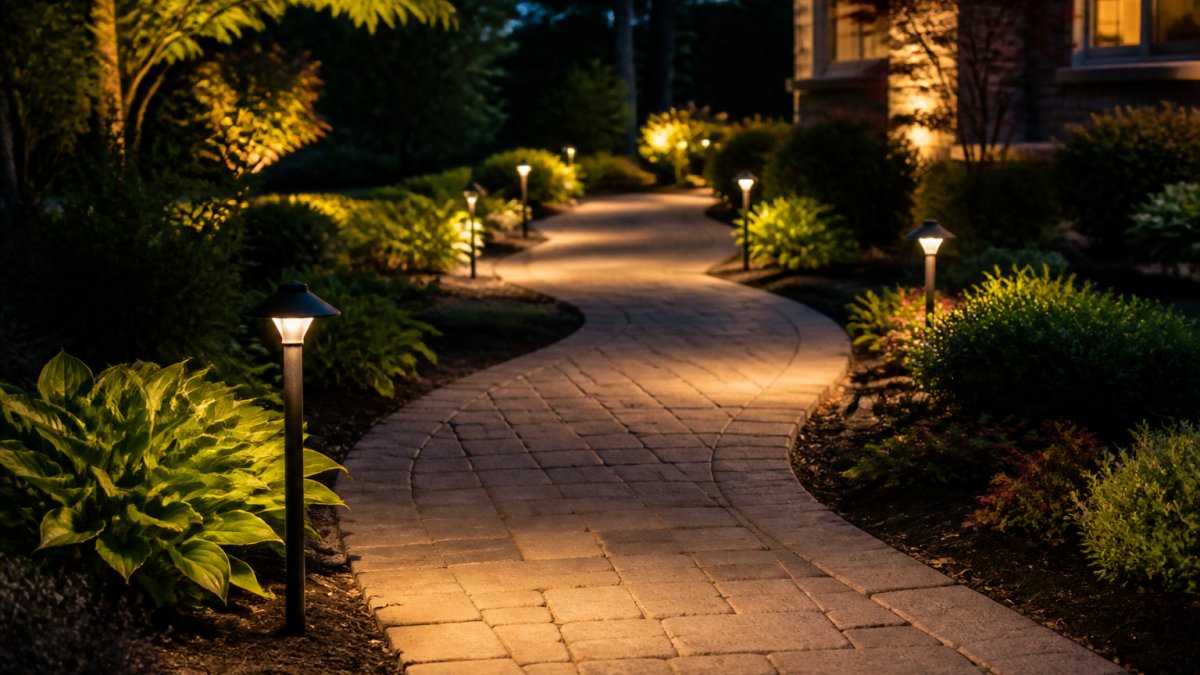
Table of Contents
- Why Pathway Lighting Matters for Safety and Curb Appeal
- Best Lights for Garden Paths: Fixture Types and Options
- Pathway Lighting Placement and Spacing for Even Coverage
- Low-Voltage Landscape Lighting: Safety and Installation
- Choosing Outdoor Light Color Temperature for Pathways
- Step-by-Step Pathway Lighting Installation and Testing
- Step 1: Map Your Pathway and Identify Obstacles
- Step 2: Select Fixtures and Power Source
- Step 3: Install Lights and Perform Initial Dusk Testing
- Step 4: Conduct a Measurable Nighttime Safety Inspection
- Step 5: Adjust Brightness, Aiming, and Spacing
- Step 6: Retest After Adjustments and Document Your Final Setup
- Common Mistakes to Avoid When Installing Pathway Lights
- Accessibility and Visibility for All Users
- Frequently Asked Questions
Last Updated: October 10, 2026
Why Pathway Lighting Matters for Safety and Curb Appeal
Unlit walkways create real hazards, visitors stumble on unseen steps, and homeowners miss obstacles after dark, which is why many turn to solutions that illuminate garden pathways. Beyond safety, pathway lighting highlights landscaping, guides guests, and adds thousands to perceived property value.
Best Lights for Garden Paths: Fixture Types and Options
Different fixture types solve different challenges depending on your garden layout, budget, and aesthetic goals.
Path Lights and Bollard Lights
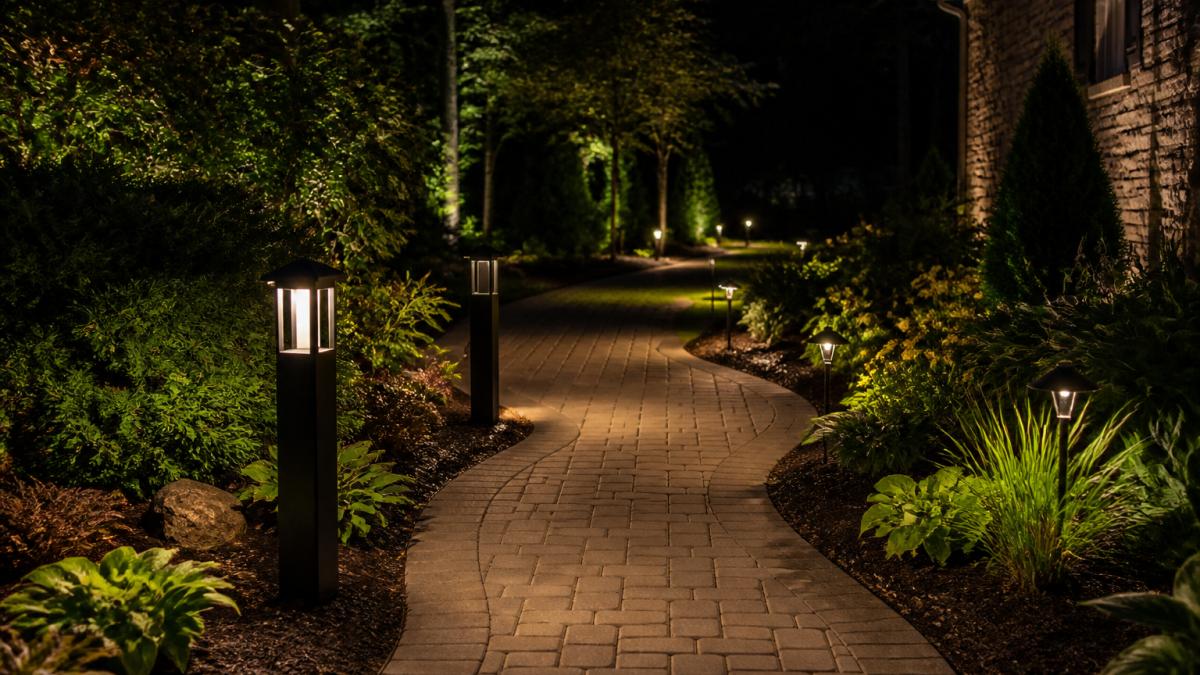
Path lights (12-24 inches) cast light downward onto walking surfaces. Bollard lights (24-36 inches) work well along wider paths and driveways.
Path lights suit narrow corridors; bollard lights suit open pathways and entries. Space both types 6 to 8 feet apart for even coverage.
Step and Stair Lighting
Recessed step lights mount flush into treads or risers for invisible daytime appearance and crucial nighttime visibility. Wall-mounted step lights attach to adjacent walls or railings.
Step lighting prevents falls by clearly defining each rise and tread. Recessed options are cleaner aesthetically but require more installation work.
In-Ground and Recessed Lights
In-ground lights sit flush with soil or hardscape along garden beds, patios, and pathways. Recessed lights mount into steps, walls, or decking.
These fixtures excel when prioritizing aesthetics over visibility, creating subtle lighting without harsh shadows. They're vulnerable to damage from foot traffic, so placement matters.
Solar-Powered Lighting Options
Solar path lights charge during the day and run on stored energy at night with no wiring required. Solar bollard and step lights offer the same convenience without infrastructure.
Solar lights work well for renters avoiding electrical installation but produce only 50-100 lumens and depend on consistent sunlight, limiting use in shaded areas.
Pathway Lighting Placement and Spacing for Even Coverage
Placement determines whether pathway lighting works. Good spacing ensures continuous visibility without excessive brightness or glare.
To properly illuminate garden pathways, space path lights 6 to 8 feet apart. Increase to 8-10 feet for wider paths; reduce to 5-6 feet for narrow corridors.
Position lights on alternating sides rather than down the center to create even coverage, reduce tunnel effect, and minimize glare.
Avoid placing lights directly at eye level when standing. Aim for fixtures that shine downward, not horizontally toward faces. This prevents the harsh glare that makes it harder to see, not easier. Place step lights on the vertical riser or recessed into the step itself, never shining up at ankles.
Low-Voltage Landscape Lighting: Safety and Installation
Low-voltage systems run on 12 volts instead of 120V, offering safer installation, greater flexibility, and lower electricity use. Most residential pathway lighting uses low-voltage fixtures.
Why Low-Voltage Systems Work Better
Low-voltage systems eliminate shock hazard and allow DIY installation in most jurisdictions. You can add, remove, or relocate fixtures without rewiring your entire yard.
Low-voltage fixtures are more durable outdoors, with lower heat production extending wire life. Smaller fixtures fit tight spaces where standard fixtures won't.
Transformer Sizing and Wire Gauge Selection
The transformer is the heart of your low-voltage system. It converts 120V household current to 12V for your pathway lights. Choosing the correct transformer size prevents dim lights and voltage drop over long runs.
Add total fixture wattage (path lights 4-10W, bollard lights 10-20W, step lights 2-5W) and add 20% for safety margin. A pathway with ten 7-watt path lights needs a 100W transformer.
Use 12-gauge wire for runs under 100 feet; 10-gauge for 100-150 feet; 8-gauge for over 150 feet. Undersized wire dims distant fixtures. Most residential pathways use 12-gauge.
Installation Safety and Electrical Requirements
Use outdoor-rated wire rated for direct burial. Never use indoor electrical wire outdoors; it degrades quickly and becomes a hazard.
Bury low-voltage wire at least 6 inches deep and mark the path with flags to prevent accidental cutting during future digging.
Connect the transformer to a GFCI-protected outlet rated for wet locations (NEMA 3R or better). Never use an unprotected outlet or extension cord.
For circuits exceeding 150 feet or transformers over 300W, consult a licensed electrician to verify local code compliance, especially near property lines or pools.
Low-Voltage vs. Line-Voltage: When to Choose Each
Low-voltage systems are ideal for most homeowners: DIY-friendly, flexible, and safe. Unless your pathway exceeds 200 feet or requires extremely bright illumination, low-voltage is the practical choice.
Choosing Outdoor Light Color Temperature for Pathways
Warm light (2700K-3000K) creates a cozy atmosphere; cool light (4000K-5000K) provides better visibility but feels clinical.
For residential pathways, 2700K warm white is standard, it complements plants, highlights details, and feels welcoming.
Use 3000K or cooler only for security entries. For general pathway illumination, warm light provides better ambiance with adequate safety.
Step-by-Step Pathway Lighting Installation and Testing
Installing pathway lighting is manageable with proper planning. The final step, a measurable nighttime safety inspection, is where most homeowners fall short.
Step 1: Map Your Pathway and Identify Obstacles
Walk your pathway at dusk and mark areas where guests might trip: steps, roots, uneven pavement, garden bed edges, and slope changes.
Sketch your pathway on paper, marking fixture locations at 6 to 8 feet intervals and noting obstacles. This prevents relocating lights later.
Step 2: Select Fixtures and Power Source
Choose solar (if pathway gets 6+ hours direct sunlight) or low-voltage wired systems (work anywhere with consistent brightness).
Select fixture types based on pathway style: path lights for narrow corridors, bollard lights for wider entries, step lights for stairs. Buy all fixtures before installation.
Step 3: Install Lights and Perform Initial Dusk Testing
For low-voltage systems, install the transformer near a GFCI outlet, run wire along the pathway, bury 6 inches deep, and connect fixtures. For solar lights, push stakes into soil.
Turn on the system at dusk and walk the pathway to note areas that feel too dark or too bright, but wait until full darkness for the complete safety inspection.
Step 4: Conduct a Measurable Nighttime Safety Inspection
Return to your pathway 2-3 hours after sunset, when the sky is completely dark. This is your critical safety test. Use this checklist to evaluate coverage objectively:
Visibility and Coverage:
- Walk the entire pathway at normal pace. Can you see the walking surface clearly without looking down? You should be able to identify the path edge and any obstacles (steps, roots, garden bed edges) without hesitation.
- Stand still at several points along the pathway. Can you see 10 feet ahead? This is the minimum sight distance needed to avoid tripping hazards.
- Check for dark gaps between fixtures. If you see a section darker than the rest, that's a gap that needs a fixture or repositioning.
Shadow and Glare Assessment:
- Stand at eye level (5.5 feet tall) and look along the pathway. Do any fixtures shine directly into your eyes? If yes, adjust the fixture angle downward or add a shield.
- Walk the pathway and note where shadows fall. Shadows behind obstacles (plants, steps) are acceptable. Shadows across the walking surface are not, reposition fixtures to eliminate them.
- Sit down on a bench or step if your pathway has seating. Glare looks different from sitting height. Adjust fixtures if they're uncomfortable to look at from a seated position.
Accessibility Check:
- Walk the pathway slowly, as an older adult might. Do you feel confident about step height and surface changes? If not, add edge lighting to steps or increase overall brightness by 20-30 lumens per fixture.
- Identify any areas where depth perception is unclear (dark corners, unlit step risers). These are hazards for people with low vision. Add uplighting on nearby plants or recessed step lighting to create visual contrast.
Obstacle and Hazard Visibility:
- Verify that every step, root, or uneven surface is clearly visible. Walk barefoot if safe to do so, this heightens your sensitivity to hazards.
- Check that garden bed edges are distinct from the walking surface. If they blend together, the path boundary is unclear.
Step 5: Adjust Brightness, Aiming, and Spacing
Based on your safety inspection, make targeted adjustments:
If coverage is uneven: Add a fixture in the dark gap, or reposition existing fixtures to overlap better. Retest after each adjustment.
If glare is present: Lower the fixture angle to 45-60 degrees (aim downward, not horizontal). Add a louvered shield or cowl to block direct light from eye level. For recessed step lights, ensure they're flush with the surface and not protruding.
If visibility is poor: Increase fixture brightness by switching to higher-wattage bulbs (if low-voltage) or adding a dimmer set to 75-100%. For solar lights, ensure they're receiving adequate daytime charging and consider upgrading to higher-lumen models.
If brightness is excessive: Reduce wattage or use a dimmer set to 50-75%. Excessive brightness wastes energy, creates glare, and can disturb neighbors.
Step 6: Retest After Adjustments and Document Your Final Setup
After making changes, wait until the next full-dark evening and repeat your safety inspection. Walk the pathway at normal pace, check sight lines, assess shadows and glare, and verify obstacle visibility. When coverage feels confident and glare is minimal, your installation is complete.
Document your final setup: photograph fixture locations, note the transformer wattage and wire gauge used, and record any custom adjustments (dimmer settings, fixture angles, added shields). This record helps you troubleshoot problems later and guides maintenance.
Common Mistakes to Avoid When Installing Pathway Lights
Spacing fixtures evenly without considering slopes creates uneven visibility. A flat section needs different spacing than a slope. Adjust spacing based on actual sight lines, not just distance.
Placing lights too close together wastes energy and creates harsh shadows. Placing them too far apart leaves dark gaps where people stumble.
Choosing cool white light for ambiance pathways creates an unwelcoming, institutional feel. Warm white (2700K) is almost always the better choice for residential gardens.
Burying wire too shallow invites damage from lawn mowers and garden tools. Bury at least 6 inches and mark the route clearly.
Ignoring glare ruins the entire installation. Even well-spaced, properly aimed lights can create harsh glare if fixtures aren't shielded.
Accessibility and Visibility for All Users
Pathway lighting should serve everyone, older adults, people with low vision, and visitors unfamiliar with your property.
Older adults have reduced night vision and need brighter, warmer lighting.
People with low vision need clear contrast between walking surface and obstacles.
Ensure step edges are clearly visible. Use contrasting colors on step risers or add edge lighting that makes the step boundary obvious.
Install fixtures at consistent heights along the pathway. Inconsistent lighting creates confusion about terrain.
Safe pathway lighting protects your guests and family while enhancing your property's nighttime appearance.
Paramount Outdoor Lighting Group helps homeowners design and install pathway lighting systems tailored to their specific landscapes.
Frequently Asked Questions
How far apart should pathway lights be placed?
Space pathway lights 6 to 8 feet apart along your walkway to ensure even illumination without dark corners. This spacing prevents shadows and maintains continuous visibility across the entire path. For wider paths or areas with obstacles like steps, you may need lights closer together. Test your layout at night to confirm adequate brightness before finalizing placement.
What brightness level is needed to illuminate a garden pathway safely?
Pathway lights typically require 100-200 lumens to provide safe navigation without excessive glare. The exact brightness depends on path width, surrounding landscape features, and whether you want ambient lighting or direct path lighting. LED fixtures offer excellent control over brightness, allowing you to adjust output to match your safety and aesthetic needs.
How can you reduce glare from garden pathway lights?
Reduce glare by directing lights downward toward the walking surface rather than creating uplighting that shines into eyes. Use fixtures with shields or louvers to control light direction. Choose warm color temperatures (2700K-3000K) which produce less harsh glare than cooler whites. Position lights at ground level or low on bollards to minimize direct line-of-sight exposure.
Are solar-powered lights bright enough to illuminate a garden path?
Modern solar pathway lights can provide adequate illumination for safe navigation, typically delivering 50-150 lumens depending on the model. However, their brightness depends on daily sun exposure and battery capacity. In areas with limited sunlight or during winter months, solar lights may underperform. Low-voltage wired systems offer more consistent brightness and are often preferred for primary safety lighting, though solar options work well for supplemental ambient lighting.