
How to Install Low Voltage Facade Lighting
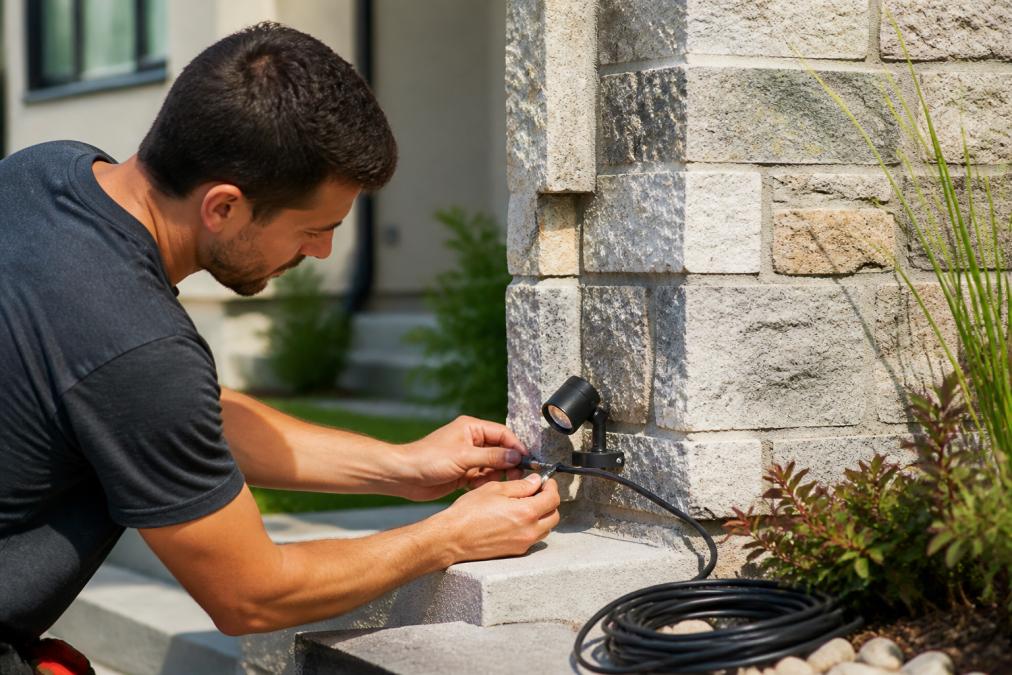
Table of Contents
- What You'll Need: Tools, Materials, and Safety Gear
- Planning Your Low Voltage Facade Lighting Layout
- How to Light a Brick House Exterior at Night
- Selecting the Best Low Voltage Outdoor Lighting Transformers
- Low Voltage Lighting Wire Gauge Chart and Cable Selection
- Step-by-Step Installation: Running Wire and Making Connections
- Testing, Troubleshooting, and Maintenance
- Common Mistakes to Avoid
- Frequently Asked Questions
Last Updated: September 23, 2026
What You'll Need: Tools, Materials, and Safety Gear
Installing low voltage facade lighting requires a transformer, direct burial cable, fixtures, wire connectors, hand tools, and safety gear (gloves, eye protection, voltage tester).
Here's what to gather before starting:
- Low voltage transformer (12V or 24V)
- Direct burial cable (appropriate gauge for your run length)
- Outdoor-rated light fixtures
- Waterproof wire nuts and connectors
- Wire strippers and crimpers
- Voltage tester
- Shovel for trenching
- Conduit for protection (optional but recommended)
- Photocell or timer for automation
Direct burial cable is essential for underground installation; regular electrical wire corrodes and fails within months.
Planning Your Low Voltage Facade Lighting Layout
Sketch your layout on paper, marking fixture locations, transformer position, and cable routes to prevent costly mistakes.
Consider these factors when planning:
- Fixture spacing (typically 4-8 feet apart for even light)
- Cable run length (longer runs need thicker wire)
- Transformer location (close to power source, protected from weather)
- Mounting heights (6-12 inches for uplighting, higher for downlighting)
- Beam angle (narrow beams for accent, wide for wash lighting)
Keep the transformer within 50 feet of your furthest fixture to minimize voltage drop.
How to Light a Brick House Exterior at Night
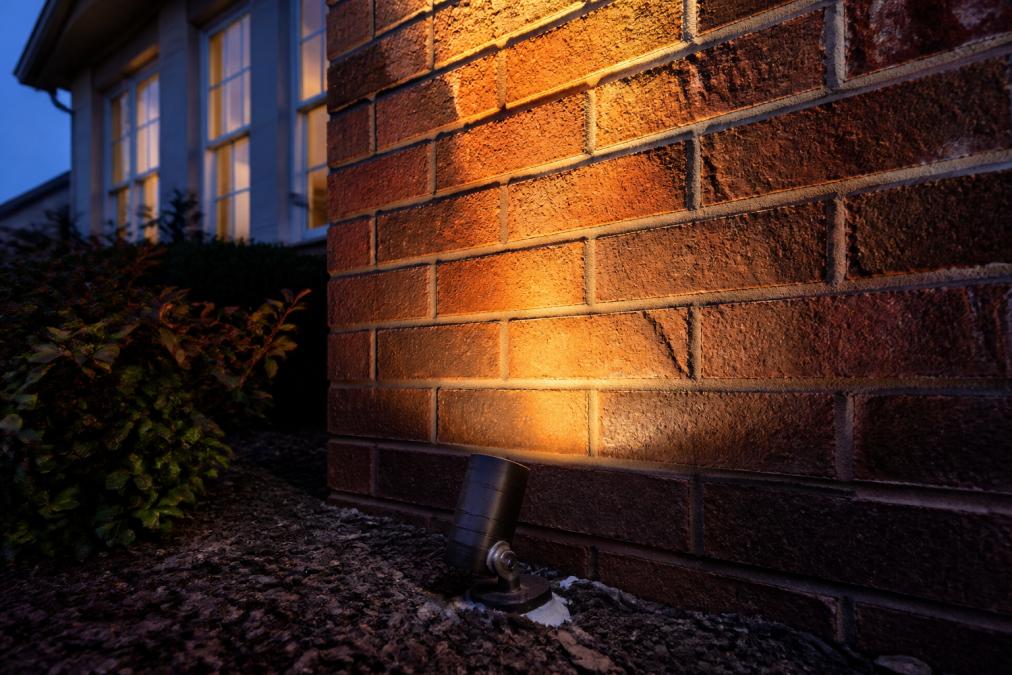
Brick facades require specific mounting techniques to prevent water infiltration. Uplighting emphasizes details, downlighting washes the surface evenly, and grazing light accentuates mortar lines and texture.
Facade-Specific Mounting Techniques for Masonry
Drilling and Fastening:
Use a carbide-tipped masonry drill bit at low speed. Drill pilot holes 3/16 inch diameter to 1.5-2 inches deep into brick or mortar joints. For hard brick, use a hammer drill in percussion mode.
Use stainless steel or hot-dipped galvanized lag bolts (1/4 inch) or outdoor-rated masonry anchors. Avoid plastic anchors. Tighten firmly without over-torquing.
Waterproofing the Mounting Point:
Apply 100% silicone caulk (not acrylic latex) around pilot holes and fixture bases. Allow 24 hours to cure before powering the system.
Seal wire entry points with outdoor-rated conduit or cable glands to prevent water infiltration.
Mounting Height and Spacing:
Position uplighting fixtures 12-18 inches from the wall base. For accent lighting on details, position 2-4 feet away and angle at 30-45 degrees.
Space uplighting fixtures 6-10 feet apart. Test spacing with temporary fixtures before permanent installation.
Fixture Selection for Masonry:
A 20-watt LED fixture illuminates 10-15 feet of light brick or 6-10 feet of dark brick. For a 40-foot medium-brown facade, plan 120-150 watts of uplighting.
Choose fixtures with adjustable beam angles and integral LED modules for better moisture resistance and lower maintenance.
Calculating Voltage Drop for Longer Runs
Voltage drop reduces electrical potential over distance. A 12V system tolerates 1-2V drop; a 24V system tolerates 2-3V. Facade lighting requires careful voltage drop calculation due to long cable runs.
Understanding Voltage Drop:
Voltage drop depends on three factors: wire length, wire gauge (thickness), and current (load). The formula is:
Voltage Drop (volts) = (2 × Wire Length in feet × Current in amps × Wire Resistance per 1000 feet) ÷ 1000
Practical Application:
Use this rule of thumb: 50-foot 12V run needs 12 AWG; 100-foot needs 10 AWG; 150-foot needs 8 AWG.
For 24V systems, use one gauge size smaller: a 100-foot run needs 12 AWG instead of 10 AWG.
Voltage Drop Calculation Example:
Example: 12V system, 200 watts, 75-foot run = 16.7 amps. Using 12 AWG wire yields 4.96V drop (too high). Using 8 AWG wire yields 1.95V drop (acceptable), leaving 10.05V at the furthest fixture.
Multi-Circuit Strategy for Long Facades:
For facades exceeding 100 feet, run two separate circuits from the transformer to keep voltage drop manageable and allow independent control.
Selecting the Best Low Voltage Outdoor Lighting Transformers
The transformer is your system's heart. It converts 120V household power to safe low voltage (12V or 24V) and regulates current to prevent fixture damage. Transformer selection determines system reliability, ease of control, and long-term maintenance burden. Most residential systems use either 12V or 24V transformers; the choice depends on cable run length, total fixture load, and control requirements.
Voltage Selection: 12V vs. 24V
12V transformers work well for runs under 50 feet (up to 200 watts) but require thicker wire for longer runs, increasing cost.
24V systems handle longer runs better with thinner wire, but fixtures cost 15-30% more and are less common.
For runs exceeding 75 feet, 24V is more economical despite higher fixture cost. For shorter runs, 12V is typically cheaper.
Transformer Wattage and Load Calculation
Choose a transformer rated 20-30% higher than total fixture wattage. A 200-watt system needs a 250-300 watt transformer to extend lifespan.
Transformer Types and Mounting Options
Transformers come in three primary configurations:
In-line Transformers: Plug into standard 120V outlets, ideal for small systems (under 100 watts). Drawback: exposed to weather and lack built-in controls.
Hardwired Transformers: Permanently connected to a 120V circuit. Require an electrician but integrate seamlessly and include built-in controls.
Modular Transformers: Larger units (300-600 watts) for whole-property systems with multiple output modules. Professional-grade and flexible for complex installations.
Weatherproofing and Enclosure Selection
Always mount the transformer in a weatherproof enclosure (NEMA 3R or better) to prevent failure within 2-3 years.
Mount the enclosure on a north-facing wall or under an eave, at least 12 inches above grade.
Leave 6 inches of clearance for air circulation. Enclosures with fans are worth the cost in humid climates.
Built-in Controls: Photocells and Timers
Most transformers include a photocell port for automatic dusk-to-dawn control. Choose photocells with adjustable sensitivity (5-50 lux).
Timer ports allow schedule-based control. Some transformers support both photocell and timer inputs for combined control.
Install the photocell on a north-facing wall away from shadows and direct sun to prevent erratic switching.
Smart Home Integration and Modern Controls
Surge Protection and Safety Features
Buy a transformer with a 5-year or longer warranty. Reputable manufacturers (those offering 10-year warranties) typically produce more durable units. Warranty length is a proxy for expected lifespan.
Low Voltage Lighting Wire Gauge Chart and Cable Selection
Wire gauge determines how much current flows safely. Thicker wire (lower gauge number) handles longer distances. The chart below shows recommended wire gauges for different run lengths:
| Run Length | 12V System | 24V System | Fixture Load |
|---|---|---|---|
| Up to 50 feet | 12 AWG | 14 AWG | Up to 200W |
| 50-100 feet | 10 AWG | 12 AWG | Up to 300W |
| 100-150 feet | 8 AWG | 10 AWG | Up to 400W |
| Over 150 feet | 6 AWG | 8 AWG | Over 400W |
Step-by-Step Installation: Running Wire and Making Connections
Installation follows a logical sequence: plan, mount fixtures, run cable, make connections, test, and troubleshoot. Rushing any step creates problems later.
Trenching and Burying Direct Burial Cable
Dig trenches 6-12 inches deep. Mark the route with spray paint before digging.
Connecting Fixtures and Daisy-Chaining Lights
Fixtures connect in series (daisy-chain). This uses less wire than individual lines.
Wiring the Transformer and Adding Smart Controls
At Paramount Outdoor Lighting Group, we recommend adding smart controls during initial installation rather than retrofitting later. It's simpler and cleaner to plan the control setup upfront.
Testing, Troubleshooting, and Maintenance
After everything is connected, test the system before burying cable. Turn on power and check that all fixtures light. Walk the cable route and look for damage or pinches.
Common Mistakes to Avoid
The biggest mistake is undersizing wire. Installers sometimes use thinner wire to save money, then wonder why lights dim. Voltage drop gets worse over time as connections corrode slightly.
Frequently Asked Questions
Do you need an electrician to install low voltage facade lighting?
Low voltage systems operate at 12 volts, making them safer than line voltage and often suitable for DIY installation. However, the transformer connection to your home's electrical system and any conduit work may require a licensed electrician depending on local electrical code. Check with your local building department before starting. Professional installation ensures code compliance, proper grounding, and system reliability.
What is the correct wire gauge for low voltage landscape and facade lighting?
Wire gauge depends on distance from the transformer and total circuit load. For runs under 50 feet with up to 100 watts, 12-gauge direct burial cable works. Runs of 50-100 feet need 10-gauge. Longer runs (100+ feet) require 8-gauge to prevent voltage drop. Always use outdoor-rated, direct burial cable rated for wet locations. Undersized wire causes dim lights and potential overheating.
How do you hide wires for facade lighting on a brick exterior?
Run direct burial cable through trenches at least 6 inches deep along the perimeter. For vertical runs on the facade itself, use weatherproof conduit or surface-mounted cable trays painted to match your exterior. Drill through mortar joints rather than brick when possible. At fixture connections, use waterproof wire nuts and silicone sealant. Plan your layout before installation to minimize visible wire.
What voltage is safe for outdoor facade lighting?
Low voltage lighting systems use 12 volts AC, which is safe for outdoor residential use. This voltage eliminates shock hazards and allows use near water features and wet soil. The transformer steps down standard 120-volt household current to 12 volts. Ensure your transformer is GFCI-protected and weatherproof, installed in a dry location near your electrical panel or outdoor outlet.