
How to Layer Outdoor Lighting for Security
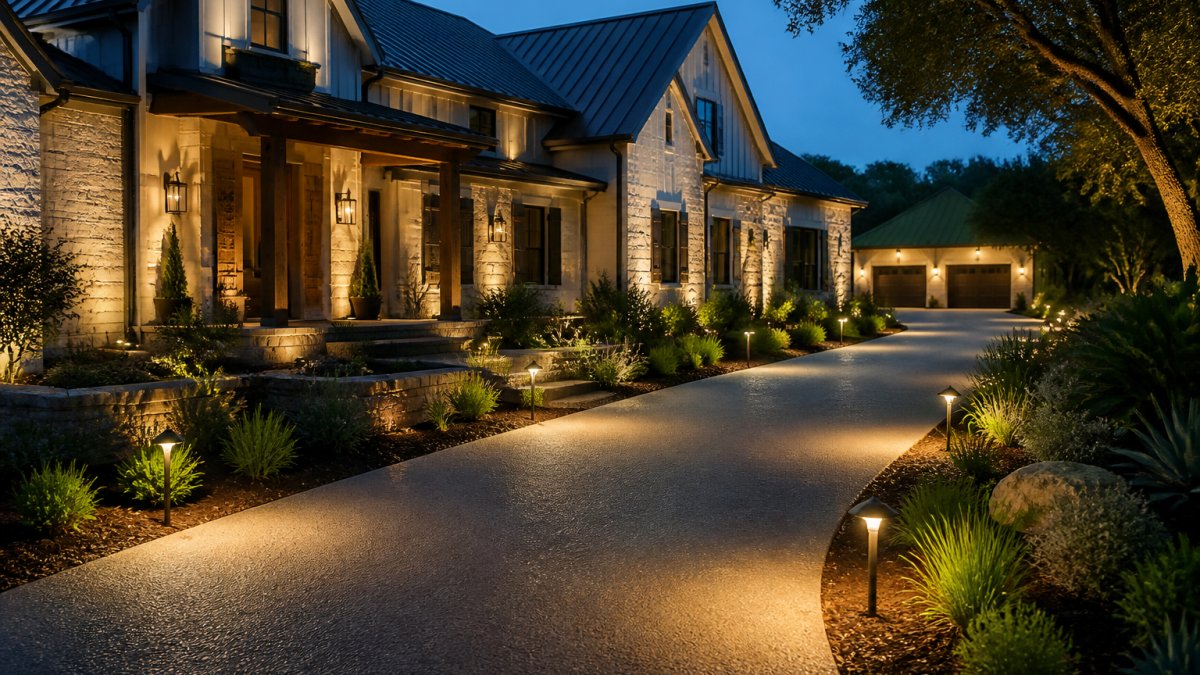
Table of Contents
- Why Layered Outdoor Lighting Beats a Single Bright Light
- The Three Layers: Ambient, Task, and Accent Lighting
- Where to Place Outdoor Security Lights by Zone
- Motion Sensor Outdoor Lights: Setup That Actually Works
- Outdoor Security Lighting Ideas for Entrances, Walkways, and Perimeters
- Choosing Outdoor Lighting Color Temperature
- Controls, Timers, and Dusk-to-Dawn Operation
- Common Mistakes: Glare, Dark Spots, and Light Trespass
- Frequently Asked Questions
Last Updated: October 19, 2026
Why Layered Outdoor Lighting Beats a Single Bright Light
One floodlight over the garage feels like security, but it blinds you at the front door and leaves the side yard pitch black.
Layered outdoor lighting fixes this by combining sources at different heights and intensities, removing dark pockets where someone could stand unseen.
The key idea most guides skip: security comes from even coverage, not raw brightness. A well-planned system helps your family see out, and helps neighbors and cameras see in.
The Three Layers: Ambient, Task, and Accent Lighting
Each layer answers a different question: ambient light shows the whole yard, task light shows what you walk on and touch, and accent light adds depth without glare.
Ambient Lighting Sets the Base
Ambient lighting is the soft, even wash that covers broad areas and removes large dark gaps between fixtures. Wall sconces, post lights, and low-output floodlights handle this layer. Keep it low and wide, bright ambient light washes out everything else.
Task Lighting Covers What You Walk On and Touch
Task lighting is the practical layer: path lights, step lights, and LED strips under a handrail. It lights the path, steps, and door hardware, preventing trips and fumbles with keys. Point it down.
Accent Lighting Adds Depth Without Glare
Accent lighting is the style layer: it grazes walls, uplights trees, and highlights architectural details, and improves security by removing hiding spots along the foundation and fence line.
Where to Place Outdoor Security Lights by Zone
Place outdoor security lights by zone, starting at the entrances and working outward. Each zone gets its own mix of layers, mounting heights, and controls.
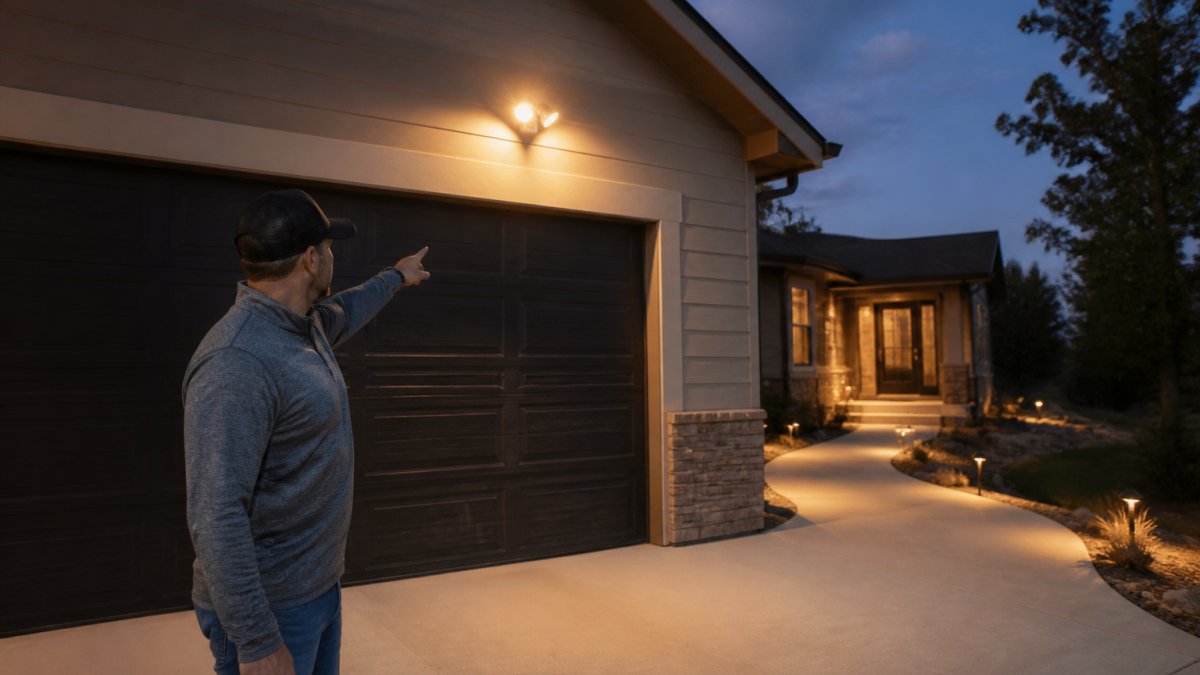
The table below is a starting point, not a rulebook. The numbers reflect common residential practice and assume standard LED fixtures with adjustable heads, adjust them to your layout, but use them to plan coverage before you buy.
| Zone | Main Layers | Mounting Height | Spacing / Coverage | Control |
|---|---|---|---|---|
| Entry doors | Task + ambient | 1.8-2.1 m (6-7 ft) beside the door | One fixture per door, plus a step light at the threshold | Dusk-to-dawn or smart switch |
| Walkways and steps | Task | 45-60 cm (18-24 in) above grade | 6-8 ft apart on alternating sides; overlap beams by about a third | Timer or photocell |
| Driveway and garage | Ambient + motion | 2.4-3 m (8-10 ft) | One motion flood per 30-40 ft of driveway edge, aimed across the approach | Motion sensor |
| Perimeter and fence line | Ambient + accent | 2.4-3 m (8-10 ft) on posts | 15-20 ft between posts so pools of light overlap | Dusk-to-dawn |
| Landscape beds | Accent | Low, aimed at surfaces | One uplight per tree or architectural feature; keep 12-18 in from the surface | Timer |
Why These Numbers Work
A fixture mounted at 8-10 ft throws a cone roughly 15-20 ft across at ground level, depending on beam angle.
Path lights are the opposite: mounted low at 18-24 in, they throw a narrow pool 3-5 ft across. Spaced 6-8 ft apart on alternating sides of the walk, the pools overlap by about a third, removing dark spots between fixtures.
Beam Spread and Aiming
Beam spread matters as much as spacing. A narrow 15-degree spot accents a tree or flag; a wide 60- to 120-degree flood handles ambient wash and driveway coverage.
Aim every fixture so the beam hits the ground or a surface, not the empty air. A floodlight aimed level across a driveway lights nothing useful and blinds anyone looking toward it.
Coverage Math You Can Do in Your Head
For a typical 50-ft front walk, plan on 6-8 path lights at 6-8 ft spacing. For a 60-ft driveway edge, plan on two motion floods at 8-10 ft height, each covering roughly 30-40 ft of approach.
Two rules matter more than any fixture choice: mount security lights 8 to 10 feet high so the beam spreads and stays out of eyes, and light the ground and surfaces, not the empty air.
Motion Sensor Outdoor Lights: Setup That Actually Works
Motion sensor outdoor lights work best when they cover a path of approach, not a whole yard. A sensor aimed at the walkway catches someone coming in; one aimed at the street triggers on every passing car.
Set sensitivity and range with these steps:
- Aim the sensor across the path of travel, not down it.
- Set the range to cover the approach, roughly 6-9 m (20-30 ft) for most homes.
- Set the on-time to 3-5 minutes so lights stay on while someone is present.
- Point the fixture down and away from windows and neighbor sightlines.
- Test at night by walking the path from the street to the door.
Pair motion sensors with a dusk-to-dawn base layer. The base layer gives constant low light, and motion adds a brighter burst when needed.
Outdoor Security Lighting Ideas for Entrances, Walkways, and Perimeters
Good outdoor security lighting ideas light what people use and cross, not just what looks impressive. Start at the door and work outward.
- Entrances: A wall sconce beside each door at 6-7 feet, plus a step light at the threshold.
- Walkways: Path lights spaced evenly on both sides, alternating so light overlaps.
- Steps: A step light on every tread or every other tread on long runs.
We design low-voltage systems around these zones so each fixture has a job, clean by day, useful by night.
Choosing Outdoor Lighting Color Temperature
Outdoor lighting color temperature is measured in kelvin (K) and changes how a space feels and how well you see. Most homes do best between 2700K and 3000K.
Here is the practical range:
- 2700K: Warm, welcoming, best for entries and patios.
- 3000K: Slightly crisper, good for walkways and driveways.
- 4000K and up: Cool and clinical, best avoided at home.
For security, very cool light scatters more, looks harsh, and washes out faces and details on camera. Warm-to-neutral light keeps colors natural and helps cameras capture clearer images.
Controls, Timers, and Dusk-to-Dawn Operation
Controls turn a pile of fixtures into a system: lights on at dusk, off at dawn, and motion adding brightness only when needed. Here is how to combine them into a schedule that holds up night after night.
The Four Control Types and What Each Does
- Photocells (dusk-to-dawn sensors): Turn fixtures on at dusk and off at dawn based on ambient light. Best for ambient and perimeter layers that stay on all night, simple, reliable, and cheap, though they can be fooled by car headlights or a bright porch light.
- Timers: Turn fixtures on and off at set times. Best for accent and landscape layers that do not need to run all night. Digital timers handle dawn/dusk shifts better than mechanical ones, but still drift seasonally unless they are astronomic timers.
- Motion sensors: Trigger a brighter burst when something crosses the detection zone. Best for driveways, side yards, and rear approaches. The trade-off: poorly aimed sensors trigger on passing cars, pets, and swaying branches, training everyone in the house to ignore them.
Building a Reliable Schedule
Set up controls in this order so each layer has a clear job:
- Put the ambient and perimeter layers on a dusk-to-dawn photocell or astronomic timer. These stay on all night at low output.
- Put task lights on the same dusk-to-dawn schedule so paths and steps are lit whenever it is dark.
- Keep motion sensors on the driveway, side yard, and rear approach, set to trigger a brighter burst only when someone crosses the approach path.
- Group fixtures into zones so one switch or app scene controls each area, entry, driveway, perimeter, landscape.
- Add a smart hub if you want schedules, dimming, and alerts in one place, and to combine motion rules with the base schedule.
A common pattern is a two-level system: a low ambient base layer on dusk-to-dawn, plus motion-triggered brightening on the approach zones. That gives constant visibility without running every fixture at full output all night.
Avoiding Nuisance Activation
Nuisance triggers are the number-one reason people disable motion lights. Fix them with aiming and range, not a bigger fixture:
- Aim the sensor across the path of travel, not down it, so it sees someone approaching rather than someone already past.
- Set the range to cover the approach, roughly 20-30 ft for most homes, and narrow it until it stops catching the street.
- Set the on-time to 3-5 minutes so lights stay on while someone is present without running for an hour after a cat crosses the lawn.
Smart-Home Integration Without Overcomplicating It
Smart controls are worth it if you want seasonal schedule changes, dimmable zones for entertaining, or phone alerts when a motion sensor trips while you are away.
If you do go smart, keep the base layer on a simple photocell or astronomic timer and use the smart hub for the motion zones and scenes.
Lighting controls also cut energy use: LED fixtures draw little power, and timed operation means nothing burns all day.
Common Mistakes: Glare, Dark Spots, and Light Trespass
Most bad outdoor lighting fails for one of three reasons: glare, dark spots, or light trespass.
- Glare: A fixture aimed outward or mounted too low. Shield it and aim it down.
- Dark spots: Fixtures spaced too far apart. Overlap the beams by about a third.
- Light trespass: Light spilling onto a neighbor's property. Add shields and cut the output.
A common mistake is buying the brightest fixture on the shelf. Bright light near the eye makes everything beyond it harder to see.
If you want a system planned around your property's zones, colors, and controls, request a walk-through and see the plan before anything gets installed.
Layered outdoor lighting takes more planning than screwing in one floodlight. It also works far better.
Frequently Asked Questions
What is the 3 lighting rule for outdoor lighting?
The 3 lighting rule means every outdoor space gets three layers: ambient light for overall visibility, task light where people walk or work, and accent light for depth and style. Applied to security, it keeps a yard evenly lit instead of relying on one floodlight that leaves dark pockets. Start with ambient coverage at 8 to 10 feet mounting height, add path and step lights at walkways, then use accent fixtures on walls and trees. The result is fewer blind spots and a home that looks lived-in rather than spotlit.
Where should outdoor security lights be placed?
Place security lights at every access point first: front door, side doors, garage, and back gate. Mount wall fixtures 8 to 10 feet high so light spreads across the ground rather than into a neighbor's window. Add path lights along walkways and step lights on stairs, then perimeter lighting along fences and dark corners of the yard. Aim fixtures downward and toward the property, not outward, to reduce glare and light trespass while keeping entry areas and dark zones visible.
Are motion sensor outdoor lights better than lights that stay on?
They solve different problems, so most homes benefit from both. Motion sensor outdoor lights are best for side yards, back gates, and garage areas where activity is occasional, since the sudden change draws attention and saves energy. Dusk-to-dawn lighting suits entrances and walkways where steady visibility matters for family safety and deliveries. Pair the two: keep low-level ambient light on all night, then let motion sensors trigger brighter task lighting when someone approaches. Set sensors at the right height and test coverage after dark.
How bright should outdoor security lights be, and what color temperature works best?
Most residential security lighting works well between 700 and 1,300 lumens per fixture, with brighter output reserved for driveways and back gates. Too much brightness creates glare that hides detail and annoys neighbors. For outdoor lighting color temperature, choose 2700K to 3000K near entries and patios for a warm, welcoming look, and 3000K to 4000K along perimeters where clear visibility matters. Avoid anything above 4000K, since blue-white light scatters, looks harsh, and can spill into neighboring yards.