
How to Repair Broken Landscape Lighting Wire (2026 Guide)
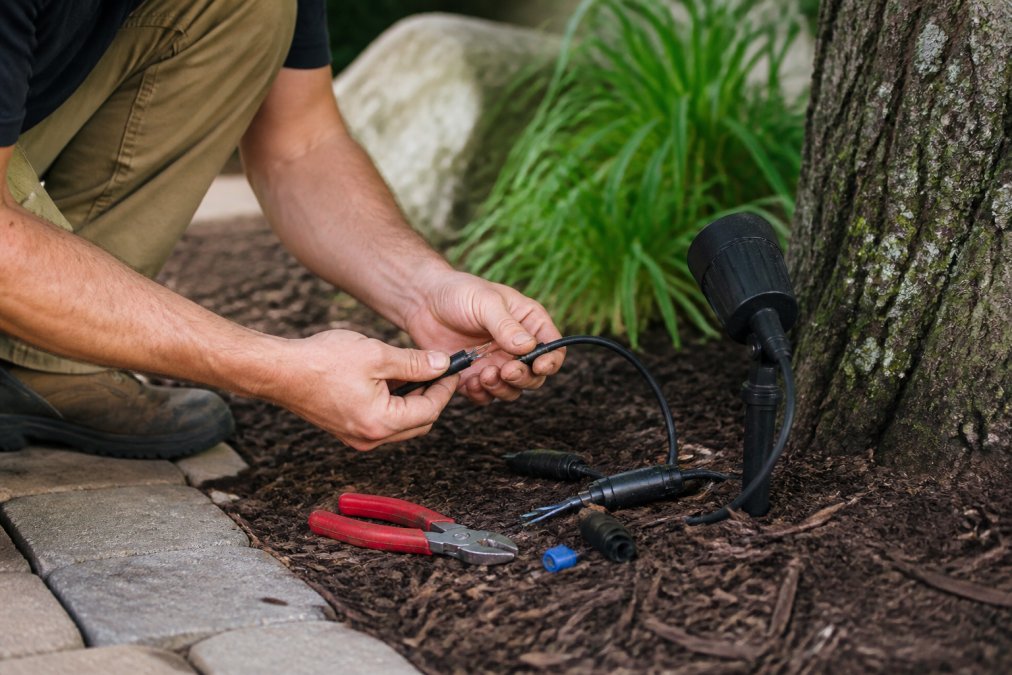
Table of Contents
- Safety First: Shutting Off Power Before You Dig Into Landscape Lighting Wire
- How to Find a Break in Low Voltage Landscape Wire
- Exposing and Stripping the Damaged Landscape Lighting Wire
- Best Waterproof Wire Connectors for Landscape Lighting
- Step-by-Step: Splicing and Waterproofing the Repair
- Testing and Verifying Your Repair
- Preventing Landscape Lighting Wire Damage
- When to Call a Professional
- Frequently Asked Questions
Last Updated: September 13, 2026
Safety First: Shutting Off Power Before You Dig Into Landscape Lighting Wire
A broken landscape lighting wire rarely announces itself with sparks. More often you notice a dark stretch of path lights or a fixture that flickers when the soil is wet. Before you touch anything, kill the power at the transformer. Even low-voltage systems can deliver a startling shock when the ground is damp, and most jurisdictions require you to follow basic electrical safety guidance from the U.S. Consumer Product Safety Commission when working around outdoor wiring.
Unplug the transformer from its outdoor outlet, or switch off the dedicated circuit at your breaker panel if it's hardwired. Confirm the fixtures are dead with a non-contact voltage tester before you dig, this prevents nearly every serious DIY landscape lighting injury.
Tools and Materials You Will Need for the Repair
Gather everything before you start. A repair kit for landscape lighting wire typically includes:
- Wire strippers sized for 18-14 AWG cable
- Wire cutters
- A multimeter or circuit tester
- Butt splices or waterproof wire nuts rated for direct burial
- Heat-shrink tubing with adhesive lining
- Dielectric grease
- Electrical tape (outdoor rated)
- A small shovel or trowel
- Silicone sealant or a moisture barrier wrap
How to Find a Break in Low Voltage Landscape Wire
Finding the break is the slowest part of the job. A landscape lighting system runs on low voltage, usually 12 to 15 volts, stepped down from your home's 120-volt supply by a transformer (energy.gov). When one section goes dark, the fault sits somewhere along that run.
Start at the transformer and work outward. Test the voltage at the first fixture in the dead run: if you have power there but not at the next fixture, the break sits between those two points. A multimeter set to DC voltage makes this quick; a circuit tester handles basic continuity checks on shorter runs.
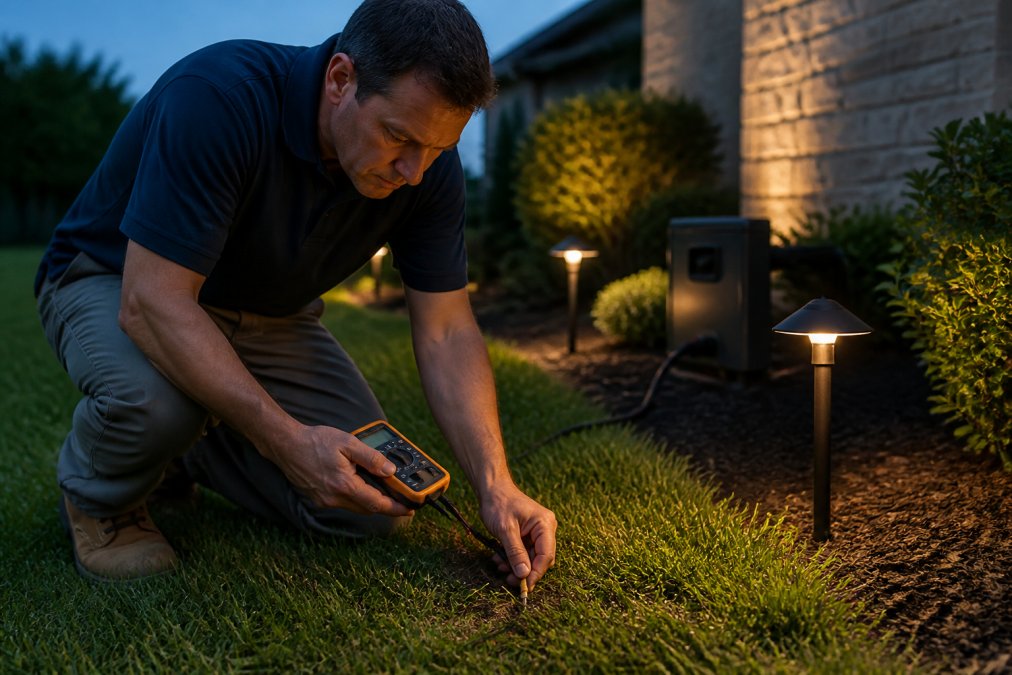
For a total failure, check the transformer first. For an intermittent flicker, the culprit is usually a partial break or corroded connection rather than a clean cut, wiggle suspect sections while watching the fixture; if the light stutters, you've found the problem area. Voltage drop over long runs can also mimic a break, so measure at the last fixture before assuming the wire is cut.
Exposing and Stripping the Damaged Landscape Lighting Wire
Once you've narrowed the location, cut the power again and dig carefully with a trowel rather than a shovel. Expose at least 6 inches of wire on both sides of the damaged section.
Cut out the damaged portion with wire cutters, leaving clean, square ends. Slide heat-shrink tubing onto one side of the cable before you make any connection, long enough to cover the finished splice with overlap on both ends.
Strip about 3/4 inch of jacket and insulation with wire strippers matched to your wire gauge. Landscape lighting typically uses 18, 16, 14, or 12 AWG cable. Mismatched gauge between the repair and the original run causes voltage drop and dim fixtures, so match what's already there.
Best Waterproof Wire Connectors for Landscape Lighting
The connector you choose determines whether the repair lasts one season or ten. Waterproofing isn't optional: buried connections face constant moisture, freeze-thaw cycles, and soil chemistry.
| Connector Type | Best For | Waterproofing Method | Durability |
|---|---|---|---|
| Butt splice + adhesive-lined heat-shrink | Direct burial, permanent repairs | Adhesive melts and seals on shrink | Highest |
| Waterproof wire nuts + dielectric grease | Above-ground or accessible junctions | Grease-filled cap repels moisture | Moderate |
| Gel-filled insulation displacement connector | Quick splices without stripping | Gel displaces air in housing | Good for light-duty, low-current runs |
| Split-bolt + rubber splice tape + heat-shrink | Larger gauge (10-12 AWG) repairs | Layered tape and tubing seal | High, but bulky |
Butt Splices and Heat-Shrink Tubing
Butt splices are the gold standard for landscape lighting wire repairs: insert a stripped conductor into each end and crimp, creating a bond that holds up to soil movement far better than a twist-on connector.
Adhesive-lined heat-shrink tubing finishes the job: when heated, it shrinks around the splice and the adhesive melts into a moisture barrier. The adhesive lining is the key detail, plain heat-shrink leaves a capillary path where water wicks along the copper.
Waterproof Wire Nuts and Dielectric Grease
Waterproof wire nuts work well for above-ground junctions or connections inside an accessible box. Pack the cap with dielectric grease before twisting it on; the grease displaces air and moisture, slowing corrosion.
They're faster to install than butt splices but less reliable underground: fine for accessible spots, but use butt splices if it's buried.
Matching Wire Gauge So the Repair Doesn't Dim the Run
This is the step most guides skip, and it's why a technically correct splice can still leave fixtures noticeably dimmer. Landscape lighting runs are sized around voltage drop, not just current capacity: a 12-volt system loses voltage over distance, and the smaller the conductor, the faster that loss accumulates.
Common landscape cable sizes and what they're typically used for:
- 18 AWG, short fixture whips and small runs, generally under 25 feet from the transformer
- 16 AWG, mid-length runs, often up to about 50 feet depending on total fixture load
- 14 AWG, longer runs, commonly used for main trunk lines up to roughly 100 feet
- 12 AWG, long trunk runs and higher-wattage systems, often 150 feet or more
When you splice, match the gauge of the existing cable. Splicing 16 AWG repair wire into a 12 AWG trunk introduces a high-resistance segment that drops voltage for every fixture downstream. If you can't match the gauge, step up, never down: heavier wire adds negligible resistance, while lighter wire can visibly dim the last fixtures.
Why the Connector Choice Compounds Over Time
A connector that passes a continuity test on day one can still fail by the second wet season. The failure mode is almost always the same: moisture reaches bare copper, corrosion builds resistance, resistance creates heat, and the splice degrades until downstream fixtures flicker or go dark. Adhesive-lined heat-shrink blocks water from entering; dielectric grease tolerates the water that does. For buried splices, blocking is more reliable than tolerating.
Step-by-Step: Splicing and Waterproofing the Repair
Here's the sequence that produces a repair you won't have to redo.
- Cut and strip both cable ends, exposing 3/4 inch of clean copper.
- Slide heat-shrink tubing onto one side, far enough back that it won't heat during crimping.
- Insert conductors into the butt splice and crimp firmly with the correct die.
- Tug-test the connection to confirm it won't pull apart.
- Center the heat-shrink tubing over the splice, overlapping the cable jacket on both sides.
- Apply heat evenly with a heat gun until the tubing shrinks tight and adhesive beads at the ends.
- Wrap with electrical tape or apply a moisture barrier for extra protection in wet soil.
Direct Burial vs. Above-Ground Repair Techniques
Direct burial repairs demand fully sealed connections. Use adhesive-lined heat-shrink and, where code or local practice calls for it, run the repaired section through conduit to protect against digging and rodents.
Above-ground repairs, such as those inside a fixture housing or an accessible junction box, tolerate simpler connectors. The connection stays dry, so waterproof wire nuts with dielectric grease handle the job. The trade-off is exposure. Above-ground splices face UV, temperature swings, and physical contact, so secure them so they don't flex.
Testing and Verifying Your Repair
Restore power at the transformer and test before you backfill. Set your multimeter to DC voltage and measure at the repaired connection and downstream fixtures; you should read close to the transformer's rated output, typically 12 to 15 volts.
If the fixtures light but appear dim, check for voltage drop, long runs and undersized wire gauge both cause it. A continuity test on the repaired section confirms the splice is sound. If the system still won't light, recheck the transformer and any ground fault protection.
Don't bury the splice until everything works. Backfilling first and testing second means digging it all up again if something's wrong.
Preventing Landscape Lighting Wire Damage
Most wire damage is preventable, and the fixes are cheap. The two biggest culprits are digging and rodents, and each has a specific countermeasure.
Burying at the Right Depth
Low-voltage landscape cable doesn't carry the same burial-depth requirements as line-voltage wiring, but shallow burial is the most common reason a repair comes undone, cable just under the turf gets nicked by edging tools, aerators, and shovels. A common working depth is 6 to 12 inches, deeper under driveways, walkways, and high-traffic lawn areas. Check local requirements before you dig, since some jurisdictions set their own minimums. Proper depth protects the integrity of the system, though more complex issues involving home electrical wiring repair often require professional intervention when the fault lies beyond a simple cable break.
If you're repairing an existing run, don't just backfill to the original depth if it was shallow. Bury the repaired section a few inches deeper and route it away from the edge of beds where tools are most likely to strike.
Protecting Against Rodent Damage
Rodents chew through cable insulation, especially in colder months when they're seeking shelter and nesting material (extension.umn.edu). The damage often looks like a clean cut, so a chewed wire can be mistaken for a severed one. The fix isn't just to splice it, it's to make the repaired section unattractive to the next rodent.
Options that work:
- Rigid PVC conduit, Run the cable through Schedule 40 or Schedule 80 PVC where it crosses known rodent paths. A 1/2-inch conduit fits most 12-16 AWG landscape cable with room to spare.
- Flexible non-metallic conduit, Easier to route around curves and roots than rigid PVC, though it offers less crush resistance.
- Steel or aluminum armored cable, The most rodent-resistant option, but heavier, more expensive, and harder to terminate cleanly at fixtures.
- Rodent-resistant cable jackets, Some manufacturers offer cable with a harder outer jacket or an embedded deterrent. Availability varies, so ask before assuming a standard spool has it.
Conduit also protects against the other common failure: a shovel strike during later landscaping work. Even a short sleeve over a buried splice adds meaningful protection.
Other Prevention Steps
- Keep cable away from areas where you regularly dig or aerate
- Inspect connections annually, especially after freeze-thaw cycles
- Trim vegetation so it doesn't abrade the cable jacket
- Use direct burial wire rated for underground use, not indoor cable
- Mark the route of buried runs with a shallow tracer wire or a sketch so future digging avoids it
- Re-check voltage at the last fixture each spring, a slow drop is an early warning of corrosion somewhere on the run
If you're planning a new installation, having a professional design the layout and wire runs avoids most of these problems from the start. Paramount Outdoor Lighting Group designs and installs low-voltage systems built to handle the region's soil and weather.
When to Call a Professional
Some repairs are worth doing yourself. Others aren't. Call a professional when the fault is buried deep under established landscaping, when multiple sections have failed at once, or when you can't isolate the break after testing. Repeated failures usually point to a design problem, undersized wire, or a failing transformer rather than a single bad splice.
If your system is more than a decade old, the wire itself may be at the end of its life, patching one break just moves the problem down the line.
A single broken landscape lighting wire can take an afternoon to trace and repair, but a system with recurring faults will keep pulling you back outside. At Paramount Outdoor Lighting Group, our team designs, installs, and maintains low-voltage landscape and architectural lighting built for year-round performance, backed by decades of experience and four specialist divisions under one roof. Request a walk-through and we'll show you what's possible for your property.
Frequently Asked Questions
Can low voltage landscape wire be spliced together?
Yes, low-voltage landscape wire can be spliced. Use waterproof connectors rated for direct burial, such as butt splices with heat-shrink tubing or waterproof wire nuts filled with dielectric grease. Strip about 3/8 inch of insulation, twist the conductors, and seal the connection completely. If the wire is 18-gauge or thinner, consider using an insulation displacement connector for a secure, corrosion-resistant splice. Always test the connection with a multimeter after splicing to confirm continuity.
How do I find a break in my landscape lighting wire?
Start by checking the transformer and any GFCI outlets for power. If the transformer is working but lights are out, use a multimeter set to continuity or voltage mode. Disconnect the run from the transformer and test for continuity between the two conductors at the far end. No continuity indicates a break. Then, visually inspect the cable for cuts, rodent damage, or corrosion. For intermittent failures, wiggle the wire at suspected points while watching the lights. A circuit tester can help pinpoint the exact location without digging up the entire run.
Do I need to use waterproof connectors for outdoor wire repairs?
Yes, waterproof connectors are essential for any outdoor landscape lighting repair. Moisture leads to corrosion, which increases resistance and causes voltage drop, flickering, or total failure. Use connectors specifically rated for direct burial or wet locations. Heat-shrink tubing with adhesive lining and waterproof wire nuts filled with dielectric grease are reliable choices. Wrap the finished splice with electrical tape for extra protection. Skipping waterproofing may work temporarily, but the connection will likely fail within a season.
Can you repair a snapped wire without replacing the whole run?
In most cases, yes. If the break is clean and the wire ends are accessible, you can splice them back together using a butt splice or waterproof connector. However, if the wire is damaged in multiple places, corroded, or too short to work with, replacing the entire run may be more reliable. For direct burial wire, dig a small trench around the break, expose both ends, and make the splice above ground if possible. Always test the repaired section before burying it again.