
Prepare Your Home for Permanent Lighting Installation
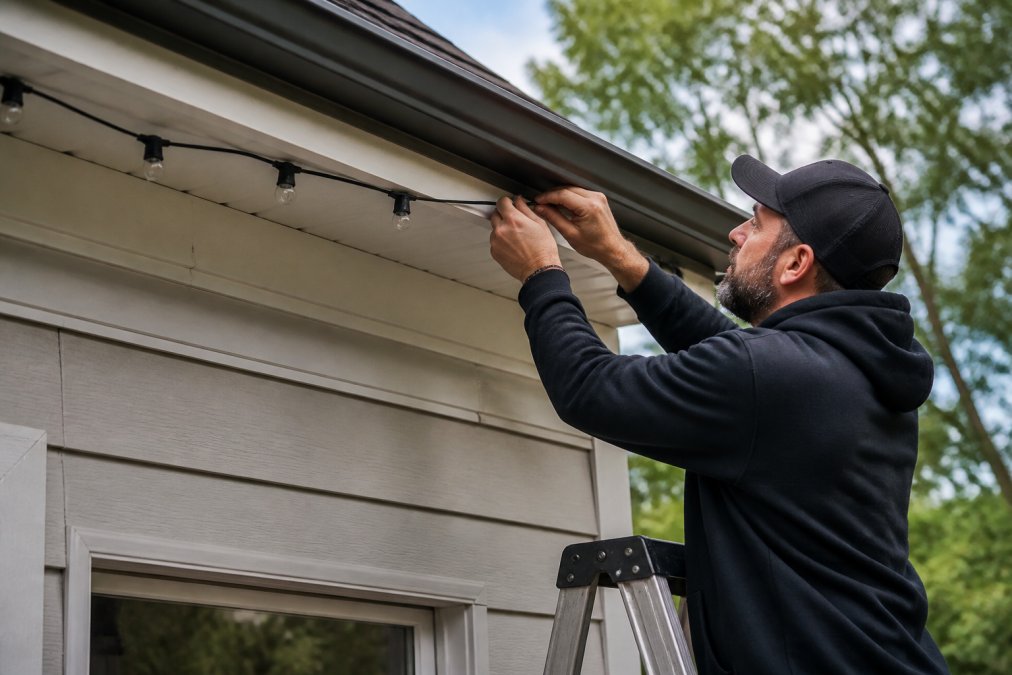
Table of Contents
- Define Your Lighting Goals and Vision
- Map Your Property and Roofline
- Gather Tools, Materials, and Safety Equipment
- Assess Your Surfaces and Plan Mounting
- Plan Your Electrical System and Power Supply
- DIY vs Professional Permanent Lighting Installation
- Permanent Outdoor Lighting Maintenance Tips
- Understanding Permanent Holiday Lighting Cost
- Frequently Asked Questions
Last Updated: September 18, 2026
Define Your Lighting Goals and Vision
Before planning, clarify your goals. Your permanent lighting installation should match your home's style and serve a real purpose, safety at the entry, ambiance on a patio, or highlighting architectural features. Each goal shapes every decision that follows.
Walk your property at night and note dark spots, shadows, and unsafe areas. Take photos. This prevents costly placement mistakes.
Rank your priorities: safety, aesthetics, energy efficiency. Know which two matter most, since a permanent lighting installation rarely checks all three.
Map Your Property and Roofline
Measure your home's perimeter and roofline using a tape or smartphone app. Record the total length you'll cover.
Note your roofline shape. Mark angles, peaks, and corners, these require junction boxes and cable management.
Locate outdoor outlets and identify which circuit breaker controls each one.
Check fascia and soffit for rot, gaps, or damage. Fix surface problems before installation, lights cannot mount to deteriorating materials.
Document obstacles: gutters, vents, tree branches, existing wiring, and architectural details. This afternoon of work saves weeks of problems.
Gather Tools, Materials, and Safety Equipment
Essential tools:
- Ladder rated for your roof height (at least 20 feet for most homes)
- Drill with bits for your mounting surface
- Measuring tape (25-foot minimum)
- Wire strippers and crimpers
- Voltage tester
- Caulking gun for silicone adhesive
- Flashlight or headlamp
Materials you'll need:
- Mounting clips and hardware (stainless steel resists corrosion)
- Silicone caulk rated for exterior use
- Electrical conduit to protect wiring
- Wire gauge appropriate for your circuit load
- Extension cord rated for outdoor use
- GFCI outlet if you're adding power access
Avoid cheap wire or undersized conduit, they fail in winter. Proper materials cost more upfront but last years without flickering.
Safety gear is non-negotiable:
- Hard hat
- Safety glasses
- Work gloves (leather or nitrile)
- Knee pads if you're crawling on the roof
- Fall protection harness for steep pitches
Rent a harness if needed. Falls from roofline height cause serious injury or death.
Assess Your Surfaces and Plan Mounting
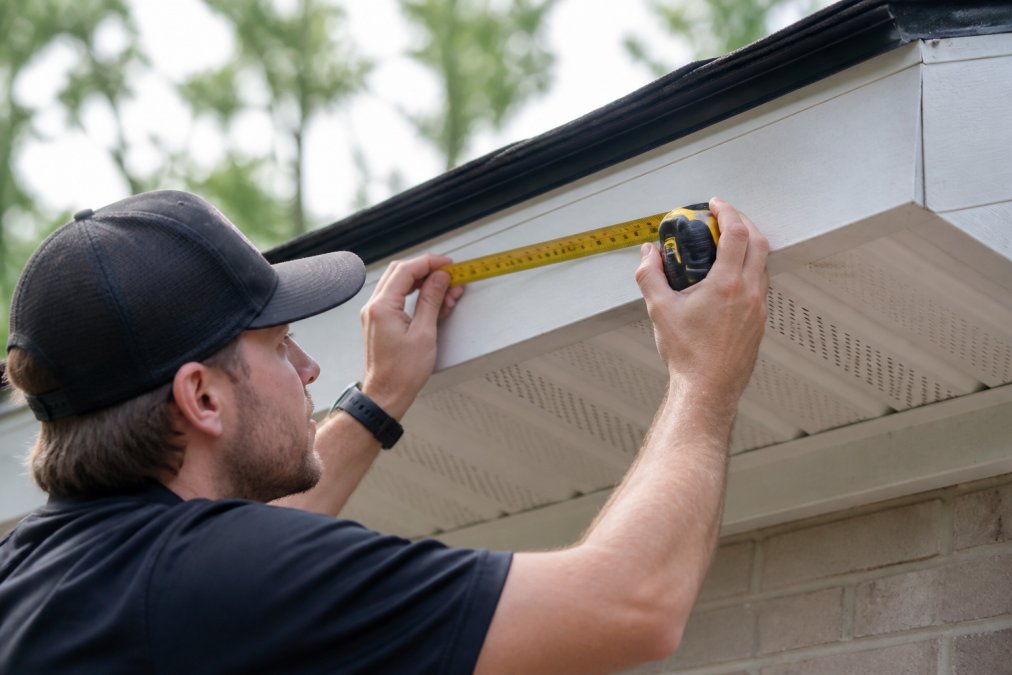
Your mounting surface determines attachment method, durability, and fastener choice. Different materials fail differently.
Fascia board mounting (wood): Wood fascia is the most forgiving surface. Tap with a hammer to verify solidity, soft sounds indicate rot. Replace rotted fascia before installation.
Use a standard drill bit (3/16-inch for most clips). Drill pilot holes to prevent splitting. Space clips 16 inches apart maximum to prevent sagging.
Apply silicone caulk around each hole before inserting fasteners to prevent water infiltration. Use stainless steel fasteners; galvanized corrode within 3-5 years.
Soffit mounting (vinyl or aluminum): Soffit is delicate. Use a standard drill bit with light pressure, forcing it causes cracking and water entry.
Use clips rated for your soffit material. Space 16 inches apart maximum to prevent sagging in heat.
Seal around fasteners with paintable silicone caulk to prevent water infiltration and mold.
Brick and stone: Brick and stone require carbide-tipped masonry bits and concrete anchors. Drill slowly to avoid cracking mortar or brick.
Drill into mortar joints, not brick, to avoid spalling. Use a hammer drill on percussion setting if necessary.
Use stainless steel concrete anchors (plastic fails in freeze-thaw cycles). Apply silicone caulk around fasteners to prevent water pooling.
Aluminum siding: Aluminum siding dents easily. Route cables behind gutters or inside soffits if possible. If mounting to siding, use a backing plate under fasteners.
Drill at low speed with firm control, aluminum can bind and twist the drill. Use stainless steel fasteners only.
Stucco: Stucco is brittle. Use a carbide-tipped masonry bit and wear a dust mask. Apply silicone caulk around fasteners to prevent delamination.
Clean surfaces with a stiff brush and let dry completely. Apply silicone caulk around every hole. Use stainless steel hardware throughout. Skipping preparation is the leading cause of permanent lighting failures, water infiltration corrodes connections within one season. Proper prep takes 2-3 hours but adds years to lifespan.
Plan Your Electrical System and Power Supply
Electrical planning is where most DIY projects fail. Undersized wire causes dimming, overloaded circuits trip breakers, and improper connections create fire hazards.
Choose your voltage system: Low-voltage systems (12V or 24V) are safer and more flexible than line-voltage (120V). A transformer steps down household current, reducing shock risk and allowing thinner wire.
Calculate your total circuit load: Add up the wattage of every light you're installing. Find the wattage on each light's specification sheet or packaging. For example:
- 10 LED spotlights at 8 watts each = 80 watts
- 15 string lights at 5 watts each = 75 watts
- Total load = 155 watts
A standard 15-amp circuit can handle 1,440 watts, but the National Electrical Code requires using only 80% for continuous loads, 1,150 watts maximum.
If load exceeds 80% capacity, add a dedicated circuit or separate power supply unit.
Determine wire gauge for your run distance: Wire gauge (thickness) must match both your load and the distance from power source to lights. Longer runs require thicker wire to prevent voltage drop. Voltage drop causes lights to dim as current travels distance.
Wire gauge depends on distance: 12V systems need 12 AWG (0-25 ft), 10 AWG (25-50 ft), 8 AWG (50-100 ft), or 6 AWG (100+ ft). 24V systems allow one gauge thinner. Consult your manufacturer's chart.
Plan your daisy-chain layout: Lights connect in sequence, sharing one power line. This reduces wire runs and complexity. Mark on your roof map where each light connects and in what order. A typical daisy-chain looks like: Power supply → Light 1 → Light 2 → Light 3 → Light 4, all on one wire.
Most manufacturers allow 10-20 lights per chain. For 40+ lights, use two chains or power supplies.
Use quality outdoor-rated connectors. Cheap connectors corrode and loosen in weather.
Power injectors for long runs: Add a power injector midway to extend chains beyond manufacturer limits. A power injector boosts voltage, preventing drop in the second half of lights.
Install a GFCI outlet: Install or verify a GFCI outlet for outdoor circuits. GFCI outlets detect ground faults and cut power in milliseconds. Most codes require GFCI protection.
Run wire through electrical conduit: Run all visible wire through electrical conduit to protect from UV, animals, and weather.
Use UV-rated PVC conduit. Hide it behind gutters, inside soffits, or paint to match your home.
Weatherproofing connections: Use waterproof connectors rated for outdoor low-voltage use. Avoid standard wire nuts. Use silicone-filled connectors or heat-shrink tubing.
Apply silicone caulk around connections and cover with a weatherproof junction box if exposed.
Test before final installation: Test all lights at full brightness before mounting. Verify no dimming (indicating voltage drop or weak connections). Test again after 30 minutes to ensure connections don't overheat.
DIY vs Professional Permanent Lighting Installation
DIY works for low rooflines with electrical experience and proper equipment. Professional installation is smarter for steep roofs, first-time low-voltage work, warranty coverage, or code compliance.
Paramount Outdoor Lighting Group specializes in permanent architectural lighting design and installation. Our team handles surface assessment, electrical planning, and professional mounting using industry-standard materials. We ensure your system meets code, performs reliably through seasons of weather, and looks exactly how you envisioned it.
Permanent Outdoor Lighting Maintenance Tips
Spring: inspect hardware, check caulking, test circuits, clean covers, trim branches. Fall: clear gutters, inspect weatherproofing, test GFCI, check connections. Year-round: replace bulbs, keep gutters clear, monitor for water intrusion.
LED systems last longer than incandescent. Failures usually come from moisture, loose connections, or corroded hardware. Maintenance prevents these.
Understanding Permanent Holiday Lighting Cost
Cost depends on roofline length, roof complexity, electrical work, surface prep, and light type. Smart or color-changing systems increase price.
Labor is 40-60% of cost. Quality matters for both labor and materials. Cheap lights fail faster.
Many view permanent lighting as a property improvement that increases home value.
For a specific quote on your home's permanent lighting installation, Paramount Outdoor Lighting Group offers free walk-throughs. We measure your space, assess your surfaces, and explain options without pressure. The National Association of Home Builders recommends getting multiple quotes for exterior improvements. This helps you understand fair pricing for your specific situation.
A permanent lighting installation transforms curb appeal and security. Proper planning prevents costly mistakes.
Paramount Outdoor Lighting Group specializes in permanent architectural lighting design and installation.
Frequently Asked Questions
Can you install permanent lights yourself?
DIY permanent lighting installation is possible if you have electrical knowledge, proper safety equipment, and comfort working at heights. However, permanent installations require careful planning of power supply, voltage drop calculations, and weatherproofing to prevent system failures. Most homeowners benefit from professional installation to ensure the system operates reliably year-round without flickering or wiring problems that can develop over time.
How much does permanent holiday lighting cost?
Permanent holiday lighting cost varies based on your home's size, roofline complexity, lighting type (LED nodes, RGB controllers, smart lighting), and whether you choose DIY or professional installation. Pricing depends on quantity of fixtures, mounting hardware, electrical work, and any weatherproofing upgrades needed. Request a walk-through consultation to receive a customized quote based on your specific property and lighting vision.
What exterior home repairs should be done before installing permanent lights?
Complete any roofing, siding, or fascia repairs before installation. Damaged surfaces won't hold mounting clips securely, and repairs afterward may require removing newly installed lighting. Check for rotted soffit, loose gutters, or deteriorating exterior siding. Ensure your roof structure is sound and gutters are clear. Surface preparation through cleaning and inspection prevents mounting failures and extends system lifespan.
How do I maintain permanent lights on a house?
Regular maintenance includes inspecting weatherproofing annually, checking caulking around mounting points, testing GFCI outlets before each season, and cleaning lens covers to maintain brightness. Monitor for corrosion on metal components, verify wire gauge connections remain tight, and inspect cable management for damage. Professional maintenance services handle these tasks and catch issues before they cause system failures or safety hazards.