
Outdoor Lighting Maintenance Tips for Homeowners
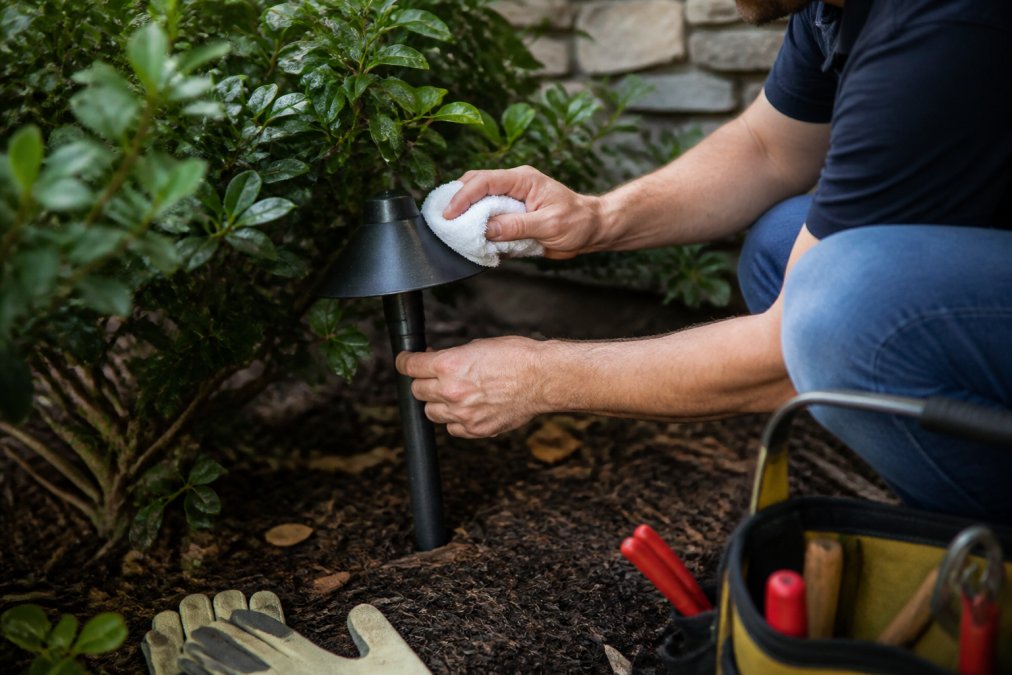
Table of Contents
- What You'll Need Before Starting Outdoor Lighting Maintenance
- How to Clean Outdoor Light Fixtures the Right Way
- Outdoor Lighting Transformer Maintenance: Keeping Your System Powered
- Landscape Lighting Troubleshooting Guide: Fixing Common Problems
- Seasonal Outdoor Lighting Maintenance Checklist
- Safety, PPE, and When to Call a Professional
- Energy Efficiency and Sustainability Audit for Your Lighting System
- Conclusion
Last Updated: August 18, 2026
What You'll Need Before Starting Outdoor Lighting Maintenance
Outdoor lighting maintenance prevents corroded wire connectors, cracked gaskets, and transformers running the wrong electrical load. A systematic approach stops most problems before they develop.
Essential supplies:
- Soft microfiber cloths and a small bucket with mild dish soap
- Replacement bulbs matched to the correct wattage for each fixture
- Wire stripper and weatherproof wire connectors
- Multimeter for checking voltage drop and electrical load
- Silicone-based lubricant for gaskets and seals
- Nitrile gloves and safety glasses
- Soft-bristle brush for clearing debris from fixture housings
- Manufacturer documentation for your transformer settings
Photograph your system before starting. A quick walkthrough documents fixture positions, wire runs, and timer settings, providing a reference point if anything shifts during maintenance.
How to Clean Outdoor Light Fixtures the Right Way
Cleaning outdoor fixtures is the highest-return task in any maintenance routine. Dirty lenses reduce lumens output significantly, and oxidation accelerates corrosion. Power down your system at the transformer before cleaning anything.
Cleaning Lenses and Fixture Housings
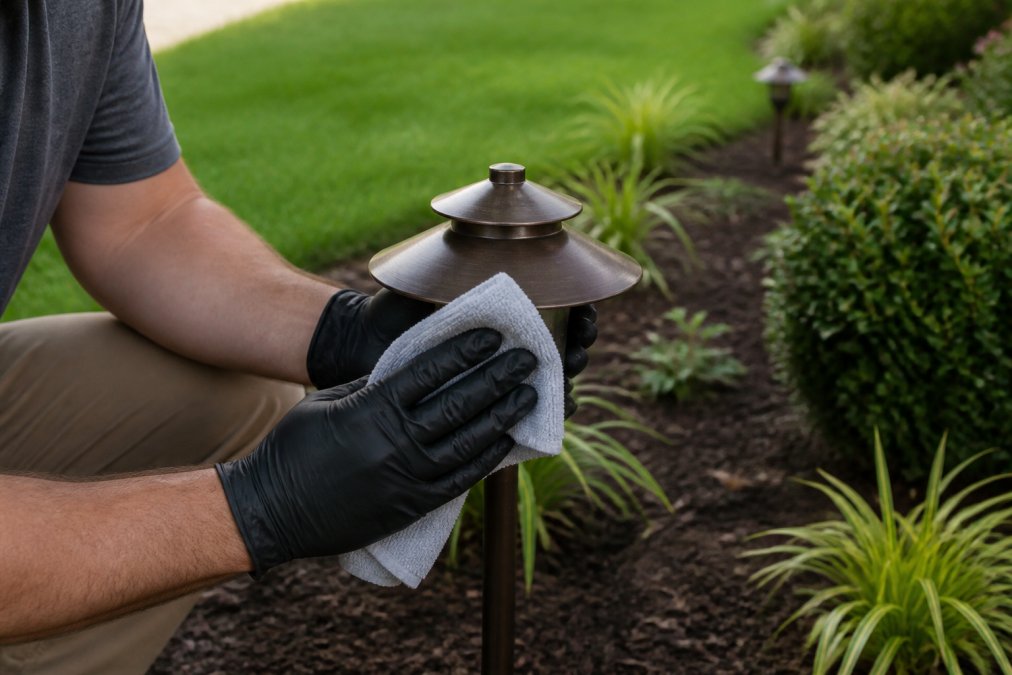
Start with the lenses. Use a damp microfiber cloth with mild dish soap. Avoid abrasive cleaners or steel wool, which scratch polycarbonate lenses. For stubborn mineral deposits, a 50/50 solution of white vinegar and water works without damaging most fixture materials.
Fixture housings need attention too. Brass and bronze fixtures develop a natural patina. If you want to slow this process, apply a thin coat of car wax after cleaning. Aluminum fixtures are prone to pitting from moisture and road salt; surface pitting that has penetrated the coating signals the fixture is nearing the end of its useful life.
Inspecting Gaskets, Seals, and Weatherproofing
Check every gasket by pressing gently around the perimeter of the lens cover. A gasket that crumbles, tears, or feels brittle needs replacement.
Most replacement gaskets are available from the fixture manufacturer. If you cannot source an exact match, a plumber's foam tape cut to the correct width works as a short-term solution, but plan a permanent fix before the next wet season.
Outdoor Lighting Transformer Maintenance: Keeping Your System Powered
The transformer is the brain of any low-voltage landscape lighting system. Start by wiping down the exterior housing and clearing debris from ventilation slots. Transformers generate heat during operation, and blocked ventilation shortens their lifespan.
Checking Electrical Load and Voltage Drop
Voltage drop occurs when total wattage on a circuit exceeds what the wire gauge and run length can efficiently carry. Fixtures at the far end of a run receive less voltage than fixtures close to the transformer, producing dim, inconsistent output.
Use a multimeter to measure voltage at the transformer terminals and then at the last fixture on each run. According to the U.S. Department of Energy's guide on electrical systems, maintaining voltage within the designed operating range is critical for both performance and longevity. A drop of more than two volts typically indicates the circuit is overloaded or the direct burial cable is undersized.
Common fixes include reducing wattage load with LED retrofits, splitting a long run into two shorter runs, or upgrading to heavier gauge cable on runs longer than 100 feet. Always verify total connected wattage stays within the transformer's rated capacity. Most residential transformers are rated between 150 and 600 watts. Running a transformer at more than 80% of its rated capacity continuously shortens its service life.
Timer Settings, Photocell Sensors, and Smart Lighting Integration
Timer settings drift after power outages. Check your timer settings twice a year, adjusting for daylight saving time and seasonal sunset changes. Photocell sensors can degrade over time. Test yours by covering the sensor in full daylight; the lights should activate within 30 to 60 seconds.
If your system connects to a hub or app, verify firmware is current and scheduling rules match your preferences. Paramount Outdoor Lighting Group, as an authorized JellyFish Lighting dealer, works with permanent architectural lighting systems that include app-based controls. Schedules and zone settings should be audited at least twice per year.
Landscape Lighting Troubleshooting Guide: Fixing Common Problems
Most landscape lighting problems trace back to one of three causes: a failed bulb, a corroded connection, or a wiring fault. Working through them in order saves time and prevents the common mistake of replacing a fixture when the actual problem is a loose wire connector 20 feet away.
Bulb and LED Retrofit Replacement
Each fixture is designed around a specific wattage and beam angle. Installing a higher-wattage bulb stresses the fixture socket and increases heat inside the housing. LED retrofits have made bulb life a near non-issue for most systems. A quality LED bulb typically lasts many times longer than the halogen it replaces while consuming a fraction of the wattage. When replacing halogen MR16 or PAR bulbs, confirm the LED retrofit is compatible with your transformer's output voltage.
Wiring, Wire Connectors, and Direct Burial Cable Checks
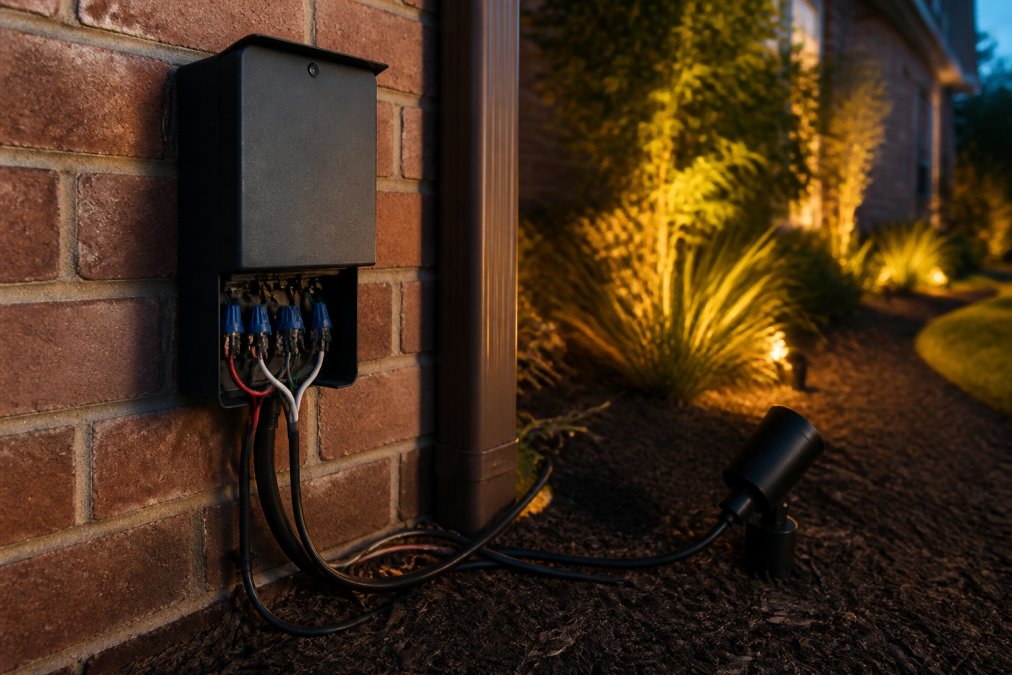
Wiring problems are the most frustrating to diagnose because most of the system is underground. Inspect every wire connector at each fixture. Connectors exposed to water, freeze-thaw cycles, or soil movement corrode and lose contact over time. According to the Electrical Safety Foundation International's homeowner resources, improper wire connections are a leading cause of outdoor electrical failures.
Replace any connector showing green oxidation or white mineral deposits. Use only weatherproof, direct burial-rated connectors when making repairs. For direct burial cable, look for sections disturbed by landscaping or digging. Cable buried less than six inches is vulnerable to damage. If you find a damaged section, splice in a replacement using waterproof wire connectors rated for direct burial applications.
Seasonal Outdoor Lighting Maintenance Checklist
Treating outdoor lighting maintenance as a seasonal discipline keeps systems performing well year-round.
| Task | Season | Frequency | Priority |
|---|---|---|---|
| Clean lenses and fixture housings | Spring | Annual | High |
| Inspect gaskets and seals | Spring | Annual | High |
| Test photocell and timer settings | Spring / Fall | Twice yearly | High |
| Check voltage drop across all runs | Spring | Annual | High |
| Trim vegetation around fixtures | Summer | As needed | Medium |
| Inspect wire connectors for corrosion | Fall | Annual | High |
| Adjust fixture positioning and aim | Fall | Annual | Medium |
| Check transformer for debris / overload | Fall | Annual | High |
| Audit energy efficiency / wattage | Fall | Annual | Medium |
| Inspect hardware for pitting and corrosion | Fall | Annual | Medium |
| Verify smart lighting schedules | Fall / Spring | Twice yearly | Medium |
| Inspect for moisture and condensation | Winter | After storms | High |
Spring and Summer Tasks
Spring is the right time for the full annual inspection. After months of winter weather, gaskets have been stressed, wire connectors have been through freeze-thaw cycles, and debris has accumulated inside fixture housings. Summer introduces vegetation growth that can engulf path lights and spotlights within a single season, blocking light output and trapping moisture. Trim surrounding vegetation back at least six inches from each fixture.
Fall and Winter Tasks
Fall maintenance focuses on preparing the system for cold weather stress. Inspect every hardware component for corrosion or pitting. Check for moisture and condensation inside fixture housings before temperatures drop. A fixture with a failed gasket will collect condensation during cold nights, which then freezes and cracks the lens or damages the socket. Adjust your timer settings for the shorter days of fall and winter.
Safety, PPE, and When to Call a Professional
Low-voltage landscape lighting operates at 12 volts, which is safe for routine maintenance. The risk comes from the line-voltage side of the transformer, which connects to a standard 120-volt household circuit. Always power down the transformer and turn off the circuit at the breaker for any work near the transformer's line-voltage connections.
Minimum PPE for outdoor lighting maintenance:
- Nitrile or rubber gloves when handling wire connectors or working near the transformer
- Safety glasses when clearing debris from inside fixture housings
- Closed-toe shoes when working in mulched beds
A ground fault circuit interrupter outlet is required by code for any outdoor electrical outlet. Confirm your transformer is plugged into a GFCI-protected outlet.
Call a licensed electrician or professional lighting installer when the transformer's line-voltage wiring shows damage, a section of direct burial cable has been cut or severely damaged, multiple circuits fail simultaneously with no obvious cause, or you are planning to add fixtures that will exceed your transformer's rated capacity.
Energy Efficiency and Sustainability Audit for Your Lighting System
An energy audit of your landscape lighting system is a practical exercise that nearly always proves worthwhile. Start by inventorying every fixture and its current bulb type. Any remaining halogen or incandescent lamps are candidates for LED retrofit replacement. LED technology has matured to closely match halogen originals in color temperature, beam angle, and lumens output, while consuming a fraction of the energy. Reducing your system's total wattage also reduces heat load on the transformer and extends the service life of wire connectors and cable.
Review your timer settings critically. Many systems run longer than necessary, particularly in summer when natural light lingers late into the evening. Trimming two hours of unnecessary runtime per night across a full season adds up to meaningful energy savings. Finally, assess fixture positioning. A spotlight aimed incorrectly wastes lumens on a surface that does not need them. Repositioning and re-aiming fixtures is free and often produces a dramatic improvement in both efficiency and visual impact.
Frequently Asked Questions
How often should you inspect an outdoor lighting system?
A full system inspection twice a year is a practical baseline for most homeowners, once in spring after winter weather and once in fall before the holiday season. Between those inspections, do a quick visual check monthly: look for dark fixtures, moisture inside lenses, or vegetation that has grown over path lights or spotlights. Low-voltage landscape lighting systems with many fixtures and long cable runs benefit from more frequent voltage checks to catch drop issues early.
Can I perform outdoor lighting repairs myself, or should I call a professional?
Basic tasks, cleaning fixture housings, replacing bulbs, trimming vegetation, and adjusting timer settings, are straightforward DIY work for most homeowners. Anything involving the transformer's internal wiring, splicing direct burial cable, or diagnosing a ground fault circuit interrupter (GFCI) trip should be handled by a licensed electrician or a qualified outdoor lighting professional. Working on live circuits without proper PPE and training creates real shock and fire risk, so know where your competence ends.
How do I make outdoor light fixtures look new again?
Start by removing the lens and soaking it in a mild soap-and-water solution to clear oxidation and grime. For metal fixture housings showing pitting or discoloration, a non-abrasive metal polish matched to the finish (brass, bronze, or aluminum) restores appearance without stripping protective coatings. Replace yellowed or cloudy polycarbonate lenses entirely, they're inexpensive and restore full lumens output. Finish by reseating gaskets and seals to prevent future moisture intrusion, which is the most common cause of premature fixture aging.
What are the most common outdoor lighting mistakes homeowners make?
The most frequent mistake is ignoring voltage drop, adding fixtures to a low-voltage system without recalculating the electrical load causes flickering and shortened bulb life across the whole run. A close second is skipping weatherproofing checks: failed gaskets and seals let condensation build inside fixture housings, corroding contacts and voiding warranties. Homeowners also tend to skip vegetation trimming until plants physically block fixtures, which reduces lumens output and traps heat around the housing. A twice-yearly preventative maintenance routine addresses all three.
Consistent outdoor lighting maintenance protects a significant investment and keeps your property looking its best through every season. For homeowners who want expert eyes on their system, Paramount Outdoor Lighting Group offers professional walk-throughs covering everything from transformer load analysis to fixture alignment and LED retrofit planning. Request a walk-through with our team and get a clear picture of exactly what your system needs.
This article was written using GrandRanker