
Preventing Moisture Buildup in Outdoor Light Fixtures
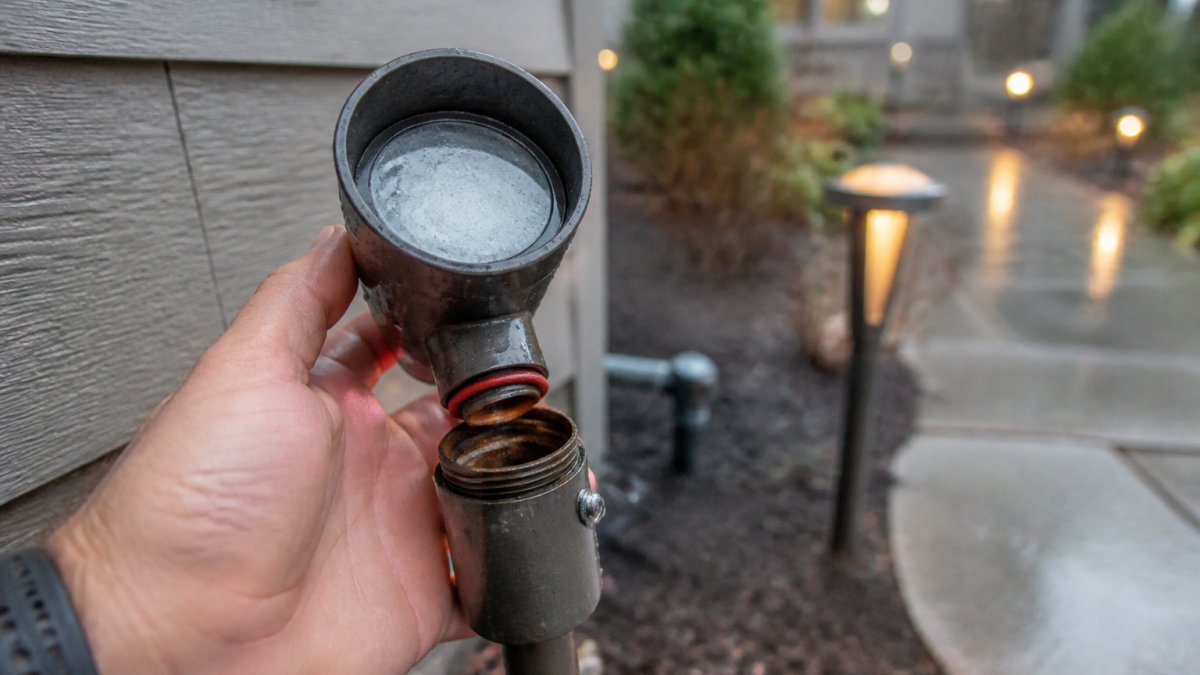
Table of Contents
- Why Condensation Forms Inside Outdoor Light Fixtures
- Signs of Water Damage in Electrical Fixtures
- Damp Rated vs Wet Rated Lighting: Which Do You Need?
- How to Seal Outdoor Light Fixtures: Step-by-Step
- Preventing Moisture Buildup in Outdoor Light Fixtures Long-Term
- Common Mistakes That Let Moisture In
- Frequently Asked Questions
Last Updated: September 30, 2026
Why Condensation Forms Inside Outdoor Light Fixtures
Preventing moisture buildup in outdoor light fixtures starts with understanding one simple fact: water gets in because of air, not rain. Most homeowners blame storms. The real culprit is the air sealed inside the fixture itself.
Here's what happens. Warm air holds more water vapor than cold air. When your fixture heats up during the day, it pulls in moist air through every tiny gap. Once the light switches off and the temperature drops, that air cools fast. The vapor turns back into liquid water and settles on the inside of the lens.
The U.S. Department of Energy's guide to outdoor lighting notes that temperature swings drive this cycle in most exterior fixtures.
Temperature Differential and Thermal Expansion
Thermal expansion is the process where materials grow and shrink as temperatures change. Metal housings expand in the afternoon heat and contract at night. That movement opens microscopic gaps at seams and gaskets.
Air rushes in when the housing contracts. Moisture follows. Over weeks, this repeats hundreds of times.
How Ambient Humidity and Drainage Affect Your Fixtures
Ambient humidity is the amount of water vapor already in the surrounding air. In humid regions, every cubic foot of air carries more moisture into your fixtures.
Poor drainage makes it worse.
Signs of Water Damage in Electrical Fixtures
The clearest sign of water damage in electrical fixtures is fog inside the lens. Other warnings include flickering, rust streaks, and a faint burning smell. Spotting these early prevents bigger repairs.
Watch for these specific signs:
- Cloudy or foggy lens that never clears
- Water droplets pooled at the bottom of the glass
- Brown rust stains on screws or the housing
- Flickering or dimming that comes and goes
- A tripped breaker when the fixture turns on
- Buzzing or crackling sounds near the fixture
Damp Rated vs Wet Rated Lighting: Which Do You Need?
Damp rated vs wet rated lighting comes down to where water actually touches the fixture. Damp rated fixtures handle moisture in the air but not direct rain. Wet rated fixtures survive direct contact with water, rain, and sprinklers.
| Rating | Handles Direct Rain? | Best Location | Typical Use |
|---|---|---|---|
| Damp rated | No | Covered porch, soffit | Under roof overhangs |
| Wet rated | Yes | Open yard, patio edge | Landscape and path lights |
| Vapor-proof | Yes, sealed | Bathrooms, damp rooms | Fully sealed housings |
How to Seal Outdoor Light Fixtures: Step-by-Step
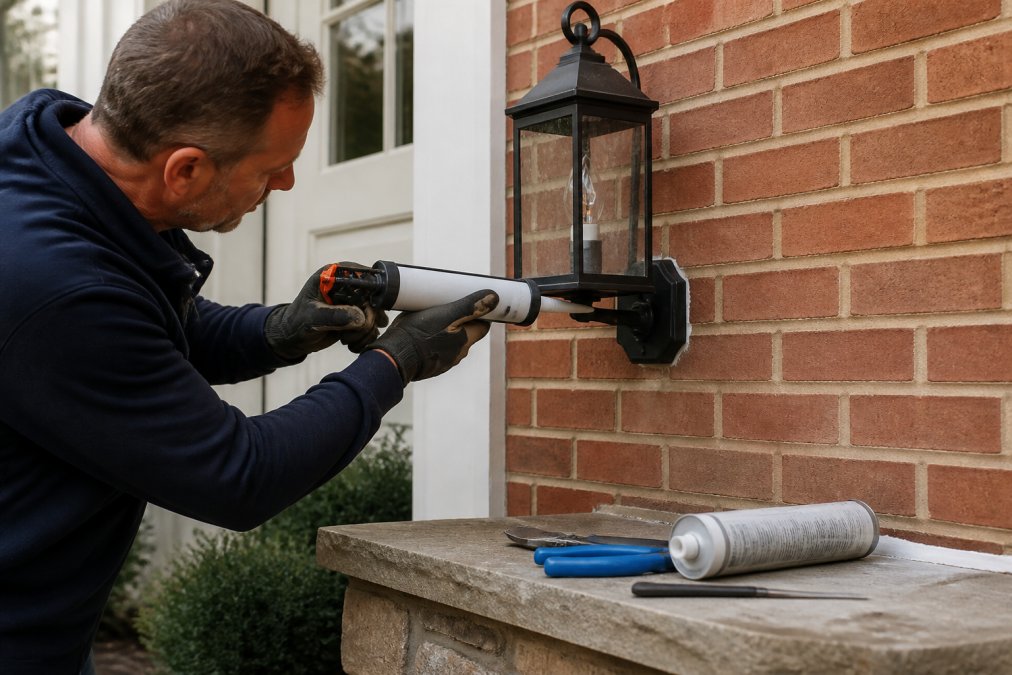
Learning how to seal outdoor light fixtures takes about an hour per fixture and basic tools. The goal is a hermetic seal at every entry point without trapping air inside. The difference between a seal that lasts one season and one that lasts five years comes down to three choices: the right sealant for your housing material, the right gasket durometer, and letting the sealant cure before the fixture sees weather.
Tools and Materials You'll Need
- Silicone sealant rated for outdoor use (see the selection table below)
- A caulk gun with a fresh 1/8-inch nozzle
- Replacement rubber gaskets sized to your fixture
- Small silica gel packets
- A screwdriver set (Phillips and flathead)
- Isopropyl alcohol and a clean lint-free cloth
- A small wire brush for cleaning threads and drainage holes
- A tube of dielectric grease for the socket and wire nuts
Choosing the Right Sealant for Your Housing Material
Not every outdoor silicone bonds to every surface.
| Housing Material | Recommended Sealant | Avoid | Why |
|---|---|---|---|
| Aluminum | Neutral-cure silicone (acetoxy-free) | Acetoxy silicone | Acetoxy releases acetic acid and pits bare aluminum |
| Powder-coated steel | Neutral-cure silicone | Solvent-based caulk | Solvents soften the powder coat at the seam |
| Copper or brass | Neutral-cure silicone | Acid-cure silicone | Acid cure discolors patina and etches the surface |
| PVC or composite | 100% silicone or polyurethane | Latex caulk | Latex cracks at the first freeze-thaw cycle |
| Glass-to-metal lens frames | Neutral-cure silicone | Construction adhesive | Adhesive is permanent and blocks future lens service |
Match the sealant to the housing, and check the label for "neutral cure" or "low odor", both signal a formula that will not attack metal.
Gasket Selection and Durometer
Durometer is the measure of how hard or soft a rubber gasket is. Outdoor fixtures typically use EPDM or silicone gaskets in the 40 to 60 Shore A range. Too soft and the gasket flattens permanently under screw pressure. Too hard and it will not compress enough to fill the seam.
- EPDM resists UV, ozone, and water well and is the standard choice for lens and housing gaskets.
- Silicone gaskets tolerate wider temperature swings and are the better pick in freezing climates.
- Neoprene works but hardens faster than EPDM in direct sun.
Step-by-Step Sealing Process
- Turn off the power. Flip the breaker and confirm the fixture is dead with a non-contact voltage tester.
- Remove the lens or cover. Set screws aside in a cup so you don't lose them.
- Clean the mating surfaces. Wipe away old sealant, dirt, and rust with alcohol. Let it flash off for a full minute.
- Inspect the gasket. Replace any gasket that is cracked, flat, or stiff. If it holds a crease when you fold it, replace it.
- Check the drainage holes. Clear them with a wire or brush so water can escape. Do not seal these.
- Apply silicone sealant. Run a thin bead around the housing seam and wire entry. A bead thicker than 1/4 inch will not cure through.
- Add a silica gel packet. Tuck one inside the housing to absorb trapped vapor.
- Reassemble and tighten evenly. Snug screws in a star pattern for even gasket compression. Stop when the gasket just begins to bulge.
- Let the sealant cure. Neutral-cure silicone needs 24 hours at 70°F and 50% relative humidity before it sees rain. Cold or damp weather stretches cure time to 48 hours or more.
- Restore power and test. Confirm the light works and the seal looks clean.
Expected result: A dry lens within 24 hours and no fogging after the next rain.
Preventing Moisture Buildup in Outdoor Light Fixtures Long-Term
Preventing moisture buildup in outdoor light fixtures long-term means managing air, not just water. Sealing is step one. Keeping the inside dry is the ongoing job. The maintenance schedule that actually works depends on where the fixture lives.
Silica Gel, Ventilation, and Dehumidification
Silica gel packets absorb water vapor before it can condense. Swap them out every few months, or whenever they feel heavy or damp. A 10-gram packet is enough for a typical wall sconce; larger post lights may need two.
Climate-Specific Maintenance Schedules
Your climate decides which fix matters most, and it changes how often you need to act.
Common Mistakes That Let Moisture In
The biggest mistake is sealing a fixture while it's warm and full of moist air. That air cools overnight and condenses inside. Always seal when the fixture is cool.
Other mistakes that let water in:
- Reusing a stiff or cracked gasket
- Skipping the silica packet
- Painting over drainage holes
- Overtightening screws and crushing the gasket
- Sealing the wire entry but leaving the lens seam open
- Ignoring the LED driver protection cover
Frequently Asked Questions
What can I do about condensation buildup in my light fixture?
First, check that the fixture has working drainage holes at the bottom and that they aren't clogged with dirt or insect debris. If the fixture is sealed tight with no drainage, drill a small weep hole at the lowest point. Replace any cracked or compressed rubber gaskets, and add a silica gel packet inside the housing for extra absorption. If condensation keeps returning after these steps, the fixture may have a failing hermetic seal and needs replacement.
How to waterproof an outdoor light fixture?
Start by confirming the fixture carries the correct IP rating for its location. Use silicone sealant around the base and mounting plate, but leave drainage holes open so trapped water can escape. Check that rubber gaskets are seated properly and not pinched. Apply dielectric grease to wire connections to block moisture ingress. For fixtures near sprinklers or in low-lying areas, consider upgrading to a wet-rated model with a sealed LED driver compartment.
Does condensation in outdoor lights pose a fire hazard?
Water contacting live electrical components can cause short circuits, corrosion, and in rare cases, arcing that may ignite nearby material. The bigger risk is gradual: moisture corrodes wiring and the LED driver, which leads to flickering, dimming, or total failure. If you see water pooling inside a fixture or notice a burning smell, cut power at the breaker and have a licensed electrician inspect it before restoring power.
How do I properly seal an outdoor light fixture against moisture?
Clean the mounting surface and remove old sealant first. Apply a bead of exterior-grade silicone sealant around the base where the fixture meets the wall or post, smoothing it with a caulk tool. Do not seal drainage holes. Confirm gasket compression is even by tightening screws in a star pattern. For bollard and spotlight installations, check the lens cover seal and replace it if it feels brittle or loose.