
DIY Landscape Lighting Design and Placement Tips
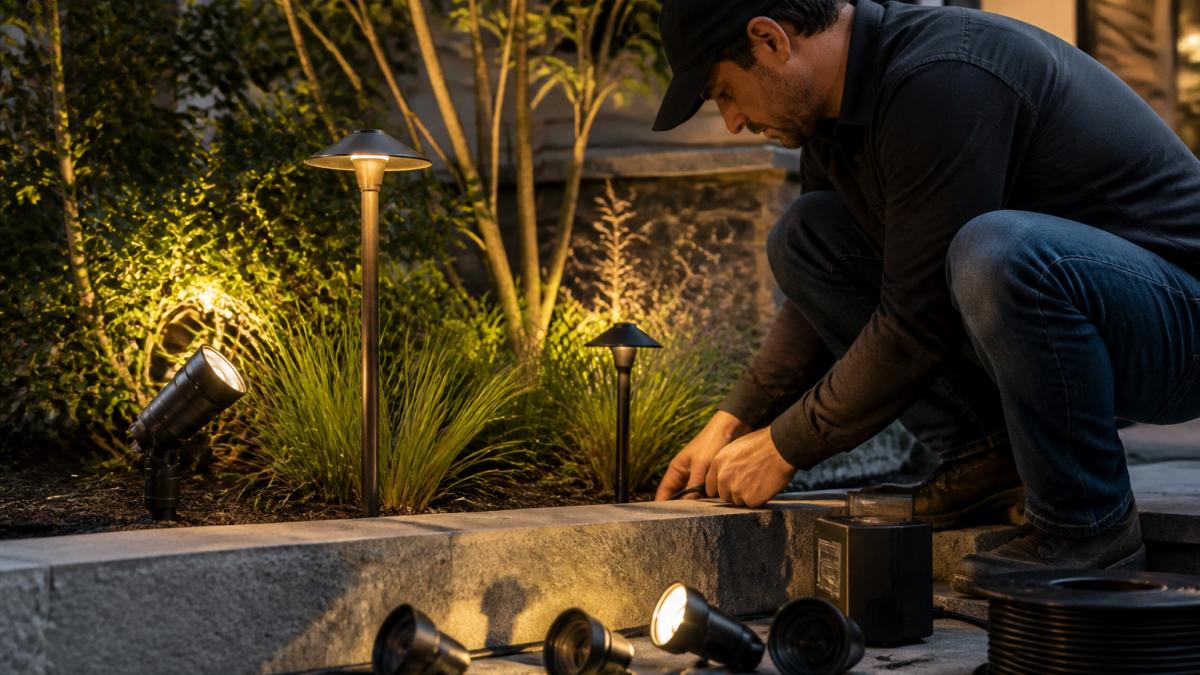
Table of Contents
- How to Plan Your Landscape Lighting Design Layout
- Uplighting vs Downlighting Techniques for Your Yard
- Low Voltage Landscape Lighting Installation Steps
- Landscape Lighting Transformer Sizing and Voltage Drop
- Placement Tips for Walkways, Patios, and Architectural Features
- Smart Lighting Integration and Energy Efficiency
- Common Mistakes to Avoid with DIY Landscape Lighting
- Conclusion
- Frequently Asked Questions
Last Updated: October 1, 2026
How to Plan Your Landscape Lighting Design Layout
Great landscape lighting design starts with a walk around your property after dark. Note what you want people to see, and what you'd rather hide. This guide covers the full process, from mapping focal points to sizing a transformer.
Map Your Property and Identify Focal Points
Sketch your yard on graph paper before you buy a fixture. Mark the house, driveway, trees, and beds.
- A mature tree with interesting bark
- A stone wall or water feature
- The front entry and house number
- A favorite piece of garden art
Layering Light: Ambient, Task, and Accent
Professional lighting uses three layers. Ambient light gives soft overall glow. Task light makes walkways and steps safe. Accent light highlights focal points.
Uplighting vs Downlighting Techniques for Your Yard
Uplighting aims light upward from the ground; downlighting sends it down from trees, eaves, or pergolas.
When to Use Each Technique
Use uplighting for tall trees, columns, and architectural walls. Place well lights at the base and angle them up the trunk or facade.
A few rules of thumb:
- Uplight trees from 1 to 3 feet away from the trunk
- Use two fixtures on wide trees for even coverage
- Downlight patios from above so light never hits seated guests in the eye
- Mix both techniques in one yard for depth
Low Voltage Landscape Lighting Installation Steps
Low voltage landscape lighting installation runs on 12 to 15 volts.
What You'll Need:
- Low voltage transformer
- Direct burial cable
- Path lights, well lights, and spotlights
- Wire connectors and cable staples
- Shovel or edger
Running Cable and Connecting Fixtures
Keep your main cable run under 100 feet when possible; longer runs lose voltage and dim end-of-run fixtures.
Landscape Lighting Transformer Sizing and Voltage Drop
Landscape lighting transformer sizing is simple math: add up every fixture's wattage, then add 20 percent headroom. A 100-watt load needs at least a 120-watt transformer.
Three things control voltage drop:
- Wire gauge: Thicker wire (lower gauge number) carries power farther
- Cable length: Shorter runs lose less voltage
- Total wattage: More fixtures on one run means more drop
| Run Length | Recommended Wire Gauge | Max Wattage |
|---|---|---|
| Under 50 ft | 16-gauge | 100W |
| 50-100 ft | 14-gauge | 150W |
| 100-150 ft | 12-gauge | 200W |
Placement Tips for Walkways, Patios, and Architectural Features
Placement is where a lighting plan either works or turns into a runway. These rules hold up across most residential yards, plus a preview method that lets you see the result before you spend a dollar.
Walkways and Paths
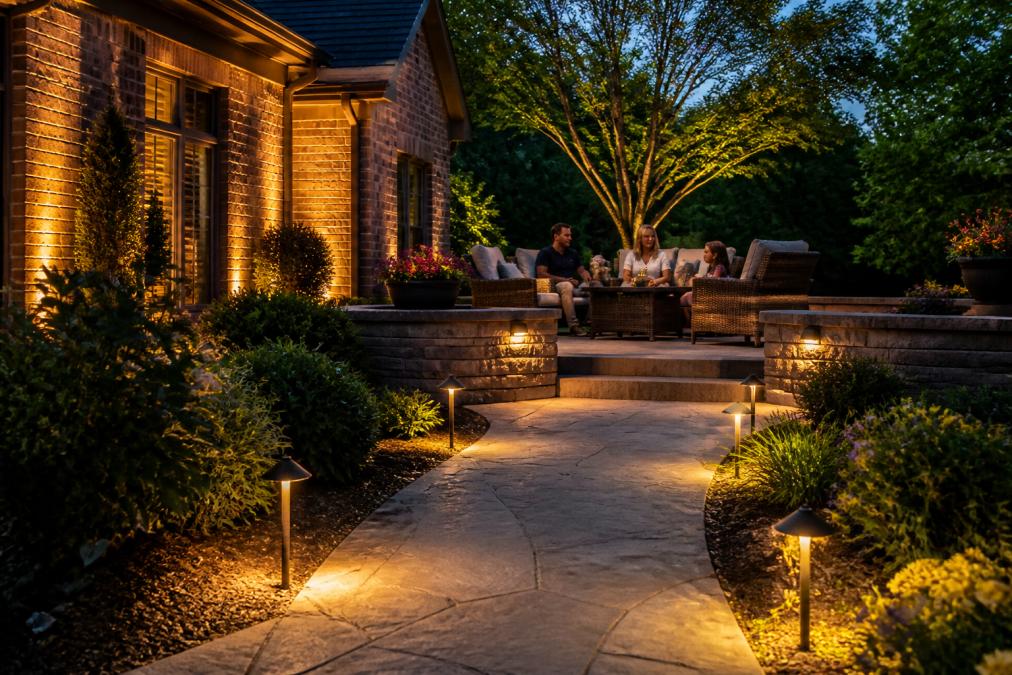
- Spacing: 6 to 8 feet apart is standard. Tighter (4 to 5 feet) reads formal; wider (10 to 12 feet) reads sparse and leaves dark gaps.
- Offset from the edge: 12 to 18 inches back. Closer becomes a trip hazard; farther pools light on the lawn instead of the walk.
- Stagger vs. line one side: Staggering both sides looks natural; lining one side looks cleaner and more modern. Pick one, mixing looks accidental.
- Height matters more than spacing: Path lights 18 to 24 inches tall throw a soft pool of light; fixtures under 12 inches glare upward at eye level. If the fixture has a shield, aim the open side toward the path.
- Steps and level changes: Light every tread from the side, not the front. One fixture at the bottom of a 3-step run leaves the top step dark.
Patios and Seating Areas
- Downlight from above, not up from the ground. Fixtures 10 to 20 feet up in a tree canopy or under a pergola create soft, even light with no glare in seated guests' eyes.
- Keep bright sources out of the sightline. If you can see the LED from a seated position, it is too bright or aimed wrong. A 2700K fixture at 40% brightness usually beats 3000K at 100%.
- Layer in low-level accents. A well light grazing a planter or a small uplight on a column adds depth without glare.
- Avoid the "interrogation" look. One bright fixture over a table is harsh; two or three dimmer perimeter fixtures read as comfortable.
Architectural Features
- Grazing: Place a well light 6 to 12 inches from the wall, aimed nearly straight up. The beam skims the surface and reveals texture in brick, stone, or stucco. Space fixtures one beam-width apart so cones overlap slightly.
- Shadowing: Place a spotlight 2 to 4 feet in front of a plant and aim it at the wall behind, casting a silhouette. Best on smooth walls; textured walls muddy the shadow.
- Washing: A wide-beam (60-degree or broader) fixture 12 to 18 inches from the wall gives a soft, even glow for garage doors, long facades, and fences.
- Uplighting columns and trees: Place the fixture 1 to 3 feet from the base and angle it up. On trees wider than about 12 inches at the trunk, use two fixtures on opposite sides so the canopy fills evenly.
- House numbers and entry: Light the entry from above and to one side. A downlight directly over the door flattens the facade; an offset fixture creates depth.
Beam Spread: The Number Most DIYers Ignore
Beam spread is the angle of light coming out of the fixture, in degrees. It determines how wide the pool of light is at a given distance.
- 15 to 20 degrees (narrow): Tall trees, tight accents, columns. At 10 feet, a 20-degree beam is only about 3.5 feet wide.
- 30 to 40 degrees (medium): Shrubs, small trees, single-story facade features.
- 60 degrees and up (wide): Wall washing, fences, wide beds.
Preview the Result Before You Buy
This is the cheapest way to avoid a bad layout.
- Flashlight walk-through: After dark, walk the yard with a focused flashlight held at the height and angle you plan for each fixture. It's the fastest way to find the right aim points.
- Phone camera test: Photograph each candidate position at night. Phone cameras exaggerate glare, so if it looks bad on the phone it will look worse in person.
- Landscape lighting apps: Several manufacturers offer free apps that overlay light pools at different beam spreads and color temperatures on a daytime photo. Results are approximate but catch obvious mistakes.
- Cardboard mock-up: Cut a cardboard tube to a 20-degree or 60-degree cone and hold it over a flashlight to compare beam spreads.
- Buy one fixture first: Install a single path light and a single uplight where you think they belong. Live with them a week, then buy the rest.
Smart Lighting Integration and Energy Efficiency
Smart controls and LED efficiency change how a landscape lighting system feels day to day, and they're the two areas most DIY guides skip.
What Smart Control Actually Adds
A traditional low-voltage system runs on a transformer with a mechanical timer or photocell. A smart system adds a controller that talks to your phone over Wi-Fi or Bluetooth.
What that unlocks in practice:
- Zones: Split the yard into 2 to 4 independently controlled groups (path, facade, patio, accent trees) so you can light only the front walk on a weeknight and the whole yard for a party.
- Schedules and scenes: Sunrise/sunset triggers based on your ZIP code, plus saved scenes like "Dinner," "Holiday," or "Security."
- Color and tunable white: Some app-controlled fixtures let you shift from 2700K warm white to 4000K+ or full RGB. Useful for holidays; risky for everyday use because mixed color temperatures look messy.
- Voice and hub integration: Works with Amazon Alexa, Google Home, and Apple Home via Matter or the manufacturer's bridge. Check the spec sheet, not every "smart" transformer supports Matter.
The Real Cost of Running LEDs
LEDs are efficient, but "efficient" is meaningless without numbers. Here's the math most guides leave out.
- Add up total fixture wattage. A typical 12-fixture LED yard draws about 60 to 90 watts.
- Multiply by nightly runtime (six hours is common).
- Divide by 1,000 for kWh per night.
- Multiply by your utility rate (check your bill, rates vary by state and season).
- Multiply by 30 for a monthly figure.
U.S. Energy Information Administration electricity data
Features Worth Paying For
- Photocell for automatic dusk-to-dawn operation, the baseline.
- Timer or astronomical scheduling so lights do not run all night.
- Dimmer or app-based brightness control, dimming to 50% roughly halves energy use and often looks better.
- IP rating of 65 or higher for weatherproofing. IP65 handles rain and spray; IP67 or IP68 is worth it in coastal or flood-prone areas.
- Color temperature consistency, buy all fixtures from one line so 2700K actually matches 2700K across brands.
- Replaceable LED modules, if the LED is sealed into the fixture, the whole fixture becomes trash when the diode fails.
Common Mistakes to Avoid with DIY Landscape Lighting
The biggest mistake is lighting everything.
Other mistakes that show up again and again:
- Overlighting: Too much brightness kills shadows and mood
- Wrong color temperature: Mixing warm and cool fixtures looks messy
- Ignoring beam spread: A narrow beam on a wide tree leaves dark edges
- Forgetting voltage drop: Dim end-of-run fixtures signal an undersized wire
- No weatherproofing: Cheap connectors fail within a season
- Skipping the plan: Buying fixtures before mapping the yard wastes money
Conclusion
Getting landscape lighting right takes planning, but the payoff is real. A well-lit yard boosts curb appeal, extends your outdoor evenings, and adds security after dark.
Frequently Asked Questions
How do I plan a landscape lighting layout for my yard?
Start by walking your property at night to identify focal points like trees, architectural features, and pathways. Sketch a simple map, then decide where you want ambient, task, and accent lighting. Group fixtures into zones so you can control them separately. For low voltage landscape lighting installation, plan your cable runs before digging. Leave room for a transformer that can handle at least 20 percent more wattage than your current fixtures use, so you can add lights later without replacing equipment.
What are the most common mistakes to avoid when installing landscape lights?
The biggest mistakes are undersizing the transformer, using the wrong wire gauge, and placing fixtures too close to walkways where they cause glare. Another frequent error is skipping voltage drop calculations on long cable runs, which leads to dim or flickering lights at the end of the line. Also avoid burying connections without waterproof connectors, and never daisy chain more fixtures than your transformer's wattage allows. Planning your landscape lighting transformer sizing before you buy equipment prevents most of these problems.
Is it better to use low-voltage or solar lighting for DIY projects?
Low voltage systems are a common choice for landscape lighting. Solar lights are easier to install since they need no wiring.
How do I choose the right color temperature for landscape lighting?
Most landscape designers recommend 2700K to 3000K for warm, natural-looking light that flatters plants, brick, and stone. Anything above 4000K starts to look clinical and washes out foliage colors. Use the same color temperature across all fixtures to avoid a patchwork look. If you are lighting a modern home with cool-toned materials, 3000K works well. For traditional architecture and gardens, 2700K blends better with the warm glow of interior lighting visible through windows.