
How to Clean Oxidized Outdoor Metal Light Fixtures
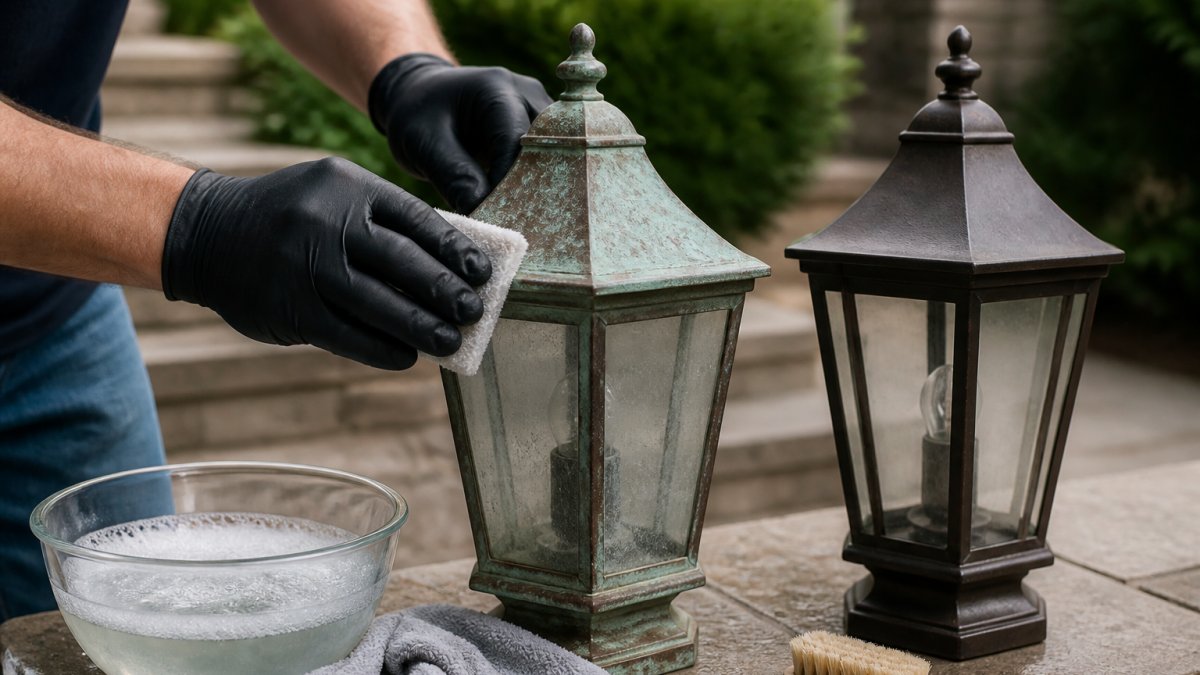
Table of Contents
- Why Outdoor Metal Light Fixtures Oxidize and Tarnish
- Safety Precautions Before You Clean Oxidized Metal Fixtures
- Tools and Materials for Cleaning Oxidized Outdoor Lights
- Step-by-Step: How to Clean Oxidized Outdoor Metal Light Fixtures
- The Best Metal Polish for Outdoor Lights
- Removing Rust From Outdoor Metal Lights
- How to Prevent Oxidation on Outdoor Metal
- When to Restore vs. Replace Your Fixtures
- Frequently Asked Questions
Last Updated: October 2, 2026
Why Outdoor Metal Light Fixtures Oxidize and Tarnish
Outdoor metal light fixtures oxidize because moisture, oxygen, and airborne pollutants react with the metal's surface, creating tarnish, discoloration, and eventually corrosion. This process speeds up near salt air, heavy rain, and sprinkler spray.
The metal type decides how fast this happens. Understanding what you're dealing with changes everything about how to clean oxidized outdoor metal light fixtures without causing more damage.
How to Identify Your Fixture's Metal Type
Brass, aluminum, and copper each age in their own way. Here's how to tell them apart before you touch anything:
- Brass: Yellow-gold tone, may show green or brown tarnish
- Aluminum: Silver-gray, light for its size, forms white powder
- Copper: Reddish-brown, turns green over time (that green is patina)
- Powder-coated steel: Painted surface, chips reveal rust underneath
A magnet helps. Aluminum and brass won't stick. Steel will.
Safety Precautions Before You Clean Oxidized Metal Fixtures
Safety comes before scrubbing. The two big risks are electrical shock and surface damage from harsh chemicals.
Start by cutting power at the breaker. Not just the light switch. The breaker.
Then gather basic protection:
- Rubber gloves to protect your skin
- Safety glasses for overhead work
- A stable ladder on level ground
- Drop cloths to catch drips and residue
Never mix cleaning products. Combining ammonia and bleach creates toxic gas.
Electrical Safety for Hardwired Fixtures
Hardwired fixtures stay connected to your home's wiring even when switched off. That's why the breaker matters.
Follow this sequence:
- Flip the breaker for that circuit
- Test with a non-contact voltage tester
- Confirm the light won't turn on
- Only then remove the fixture housing or lens
If you're unsure which breaker controls the circuit, turn off the main. A few extra minutes beats a shock risk. For anything beyond basic cleaning, OSHA electrical safety guidance is clear that qualified help is the right call.
Tools and Materials for Cleaning Oxidized Outdoor Lights
You don't need a cabinet full of products. A handful of items handle most jobs.
Always use non-abrasive tools. Abrasives scratch the finish and create fresh spots for corrosion to start.
| Tool or Material | Best For | Avoid On |
|---|---|---|
| Microfiber cloth | Wiping, buffing, drying | Nothing |
| Soft-bristled brush | Crevices, vents, seams | Nothing |
| Mild detergent | General grime | Nothing |
| Baking soda paste | Light tarnish | Polished brass |
| White vinegar | Mineral deposits | Aluminum |
| Metal polish | Restoring luster | Powder-coated surfaces |
A pH-neutral cleaner is the safest default for unknown finishes.
Step-by-Step: How to Clean Oxidized Outdoor Metal Light Fixtures
Here's the full process, start to finish. Plan on 30 to 45 minutes per fixture.
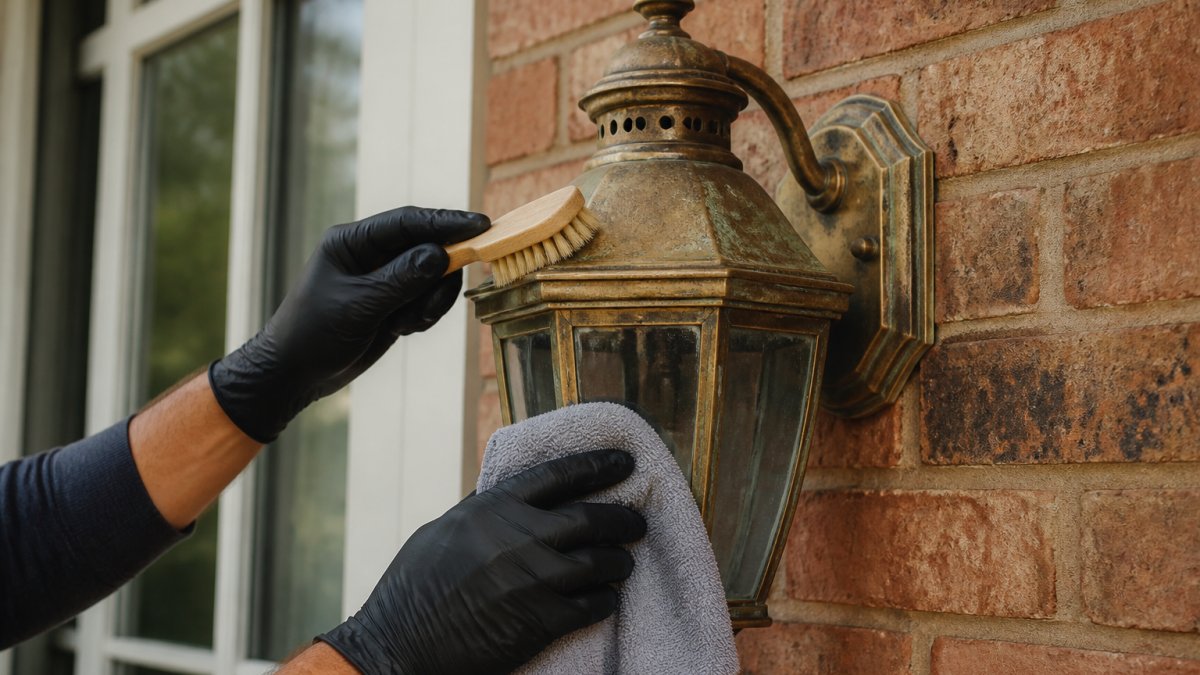
- Cut the power. Flip the breaker and verify with a voltage tester.
- Remove the fixture or lens. Take off the housing, glass, and bulb if accessible.
- Brush away loose debris. Use a dry soft-bristled brush on crevices and vents.
- Wash with mild detergent. Mix a few drops in warm water. Wipe with a microfiber cloth.
- Rinse and dry completely. Trapped moisture causes new oxidation. Dry every seam.
- Treat tarnish. Apply baking soda paste or vinegar based on metal type.
- Buff to restore luster. Work in small circles with a clean cloth.
- Reassemble and restore power. Check that the gasket seats properly to keep water out.
Natural vs. Chemical Cleaning Solutions
Natural options handle light to moderate oxidation well. Baking soda paste works on copper and brass. White vinegar dissolves mineral buildup.
Chemical polishes cut through heavier tarnish faster. But they can strip protective coatings if you're not careful.
Test any product on a hidden spot first. Wait 24 hours. If the finish dulls or discolors, stop.
The Best Metal Polish for Outdoor Lights
The best metal polish for outdoor lights is one matched to your fixture's metal, not a single universal product. A polish made for brass can damage aluminum, and vice versa.
Look for these traits on the label:
- pH-neutral formula for unknown or mixed metals
- Non-abrasive for polished or coated finishes
- Weather-resistant sealant built in, when possible
- Clear instructions naming the metals it's safe for
Liquid polishes reach crevices better. Paste polishes give more control on flat surfaces.
Skip anything labeled "heavy-duty" for routine cleaning. Save aggressive products for real restoration work.
Removing Rust From Outdoor Metal Lights
Rust needs different handling than tarnish. Tarnish sits on the surface. Rust eats into the metal.
For light rust, a baking soda paste and soft brush often lift it.
After removing rust, treat the bare spot right away. Paint or a protective sealant keeps moisture out.
If rust has pitted the metal deeply, cleaning won't fix it. That's a replacement conversation.
How to Prevent Oxidation on Outdoor Metal
Cleaning removes oxidation. It does nothing to stop it from coming back. The metal you just polished is now bare and reactive, without a barrier, it will start tarnishing again within weeks, faster in coastal air or anywhere sprinklers hit the fixture. This is the step most guides skip, and it's the one that determines whether you're cleaning the same fixture again next season.
How Protective Coatings Actually Work
A sealant works by blocking one of the three ingredients oxidation needs: moisture, oxygen, or an electrolyte (salt, pollution, acid rain).
Carnauba wax or paste wax. The traditional choice for brass and copper.
Clear lacquer (acrylic or nitrocellulose). A hard film that can last a year or more on sheltered fixtures.
Boiled linseed oil or penetrating oil. Old-school protection for iron and steel.
How to Apply a Sealant Correctly
The application matters as much as the product.
- Start with completely clean, dry metal. Any tarnish or moisture trapped under the coating becomes a corrosion cell.
- Work in the shade. Direct sun makes wax and polymer coatings flash off before they level, leaving streaks.
- Apply thin. Two thin coats beat one thick coat every time. Thick coatings crack.
- Cover the whole surface, including crevices. The seams and screw holes are where water sits.
- Buff off the excess with a clean microfiber cloth before it fully cures.
- Let it cure 24 hours before exposing the fixture to rain or sprinklers.
A Realistic Maintenance Calendar
- Monthly: Wipe down with a dry microfiber cloth to remove dust and pollution film. Thirty seconds per fixture.
- After every major storm: Rinse with plain water and dry. Salt and pollution deposits accelerate oxidation.
- Every 2 to 4 months: Reapply wax or polymer sealant on exposed surfaces.
- Before winter: Full clean, full seal. Freeze-thaw cycles are the harshest test a coating faces.
- Every spring: Inspect gaskets, lens seals, and any chipped paint. Touch up bare spots immediately.
The Other Half of Prevention: Fix the Environment
- Trim plants so sprinklers don't spray the fixture. Constant water exposure defeats any coating.
- Check sprinkler heads and redirect any that hit the house.
- Replace cracked gaskets, a $2 gasket that fails lets water into the housing and corrodes the socket and wiring.
- Keep the lens sealed. A missing lens screw means rain gets in every storm.
When to Restore vs. Replace Your Fixtures
Restore when the damage is surface-level. Replace when the metal itself is failing.
Restore if:
- Tarnish wipes away with polish
- Rust spots are small and shallow
- The fixture housing is solid and straight
- Wiring and gaskets are intact
Replace if:
- Metal is pitted, cracked, or flaking
- Rust returns within weeks of cleaning
- The fixture housing feels loose or brittle
- Repairs cost more than a new unit
For hardwired fixtures showing electrical damage, call a professional. Water and aging wiring are a bad combination.
Frequently Asked Questions
How do you remove oxidation from outdoor light fixtures?
Start by turning off power at the breaker for hardwired fixtures. Remove the fixture if possible, then wash it with mild detergent and warm water using a microfiber cloth. For tarnish, apply a baking soda paste or white vinegar, let it sit for 10 minutes, and scrub gently with a soft-bristled brush. Rinse, dry completely, and apply a protective sealant to slow future oxidation.
What is the best way to prevent oxidation on outdoor metal lights?
Apply a clear coat or protective sealant designed for exterior metal after every cleaning. Keep fixtures away from sprinkler spray, which accelerates corrosion. Reapply sealant every 6 to 12 months depending on environmental exposure. Choosing weather-resistant finishes and powder-coated housing also extends the life of your fixtures significantly.
Can you use WD-40 to clean solar lights?
WD-40 can loosen rust on metal components, but it is not a cleaner and leaves an oily residue that attracts dust. For solar lights, wipe the panel with a damp microfiber cloth and clean the metal housing with mild detergent. If rust is present, apply a small amount of WD-40 to the rusted area, scrub with a soft-bristled brush, then wipe clean and seal.
How do I restore heavily corroded or pitted outdoor metal lights?
For pitted metal, remove loose corrosion with a non-abrasive pad, then apply a metal polish formulated for the specific alloy. Deep pitting may need sanding with fine-grit paper before polishing. After buffing, apply a clear protective coat to seal the surface. If the fixture housing is structurally compromised or the gasket is degraded, replacement is often more cost-effective than restoration.
Oxidation is a maintenance problem, not a one-time fix. Fixtures that get cleaned and sealed on a schedule last years longer than ones left alone. If you'd rather skip the ladder work, Paramount Outdoor Lighting Group handles design, installation, and upkeep with expertly crafted low-voltage systems, weather-resistant fixtures, and custom designs built for your property. Request a walk-through and let our team keep your outdoor lighting looking sharp in every season.