
Low-Voltage Lighting Component Replacement Costs
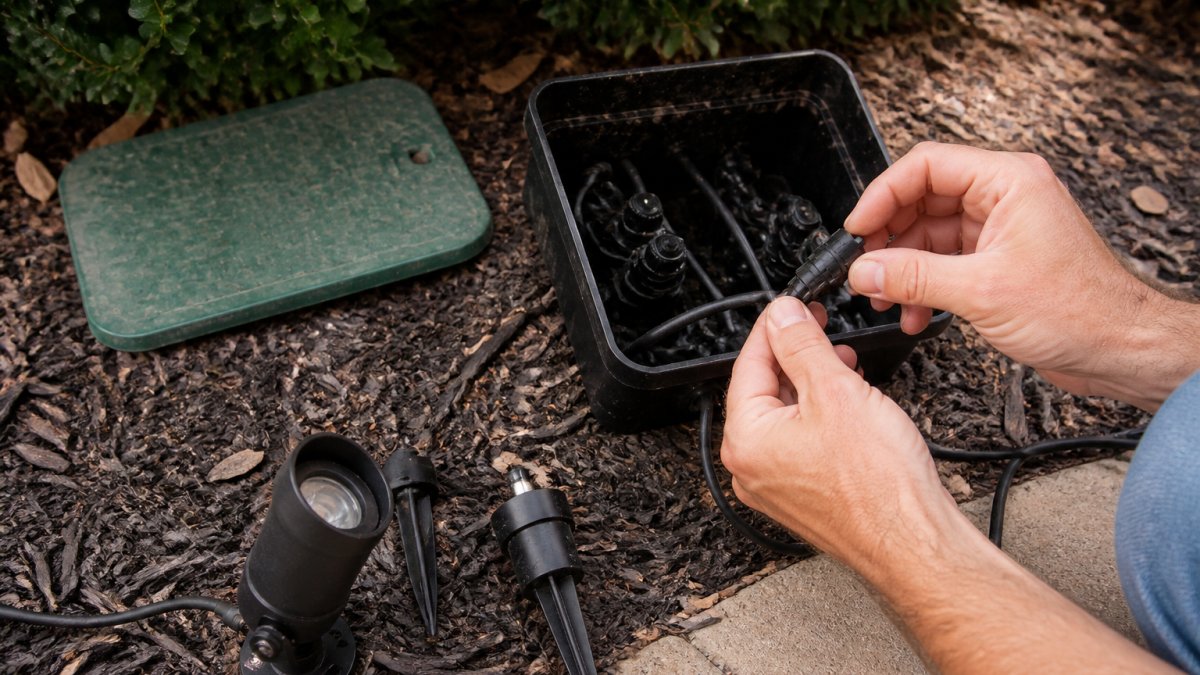
Table of Contents
- Low-Voltage Lighting Component Replacement Costs: What Drives the Price
- Low-Voltage Landscape Lighting Repair Cost: Bulbs, Sockets, and Small Parts
- Landscape Lighting Transformer Replacement Cost
- Cost to Replace Landscape Lighting Fixtures
- Landscape Lighting Wiring Repair: What You Pay for Cable and Connections
- Repair vs. Replace vs. Upgrade Your Low-Voltage Lighting System
- Frequently Asked Questions
Last Updated: October 18, 2026
Low-Voltage Lighting Component Replacement Costs: What Drives the Price
The cost of replacing low voltage lighting components tracks three variables: the part itself, the labor to reach it, and whether the whole system is aging out at once.
That gap between expectation and invoice is where most frustration starts.
Low-voltage lighting is an outdoor lighting system that runs on 12 to 15 volts instead of standard household current, stepped down by a transformer and connected by direct-burial cable.
The Parts That Fail Most Often
The parts that fail most often in a low-voltage landscape lighting system are bulbs and LEDs first, sockets and connectors second, transformers third, and buried cable last. Water intrusion drives most of it. A fixture that fills with condensation will corrode its socket long before the LED module itself dies.
- LED modules and bulbs: the most common replacement, and the cheapest
- Sockets and lamp holders: corrode from moisture, causing flicker or dead fixtures
- Wire connectors and splices: the number one hidden failure point in older systems
Low-Voltage Landscape Lighting Repair Cost: Bulbs, Sockets, and Small Parts
The low-voltage landscape lighting repair cost for small parts is the most predictable line item in the whole system. Bulbs and LED modules are inexpensive, sockets and connectors cost a little more, and the real variable is labor if you hire it out.
Replacement components themselves fall into clear tiers of affordability:
| Component | Relative Part Cost | Typical Lifespan | DIY Difficulty |
|---|---|---|---|
| LED module or bulb | Lowest | 5-10 years | Easy |
| Socket or lamp holder | Low | 5-8 years | Moderate |
| Wire connector or splice | Low | Varies with seal quality | Moderate |
| Fixture lens or gasket | Low to moderate | 3-6 years | Easy |
| Transformer | Highest | 8-15 years | Hard |
A common mistake is replacing a bulb when the socket is the problem. If a new LED flickers or dies within weeks, the socket is letting moisture in and the bulb was never the issue.
Landscape Lighting Transformer Replacement Cost
The landscape lighting transformer replacement cost is the largest single-component expense in most repair jobs, because the transformer is the heart of the system and its capacity has to match the total load. Replacing one is not just a part swap; it is a sizing exercise, and the price swings widely with capacity, housing, and control features. Integrating these electrical upgrades into a broader property improvement plan often requires consulting a landscape renovation budget guide to ensure that the total investment aligns with the long-term goals for your outdoor space.
What a Replacement Transformer Costs
Transformer pricing scales with total wattage capacity and enclosure rating. As a working range for planning purposes:
| Transformer class | Typical capacity | Typical part price | Best for |
|---|---|---|---|
| Entry-level residential | 75-150W | $60-$150 | Small systems, 5-10 fixtures |
| Mid-range residential | 200-300W | $150-$400 | Most single-family systems |
| Large residential / light commercial | 300-600W | $400-$900 | Long runs, many fixtures, multiple zones |
| Smart / app-controlled | 100-300W | $250-$600 | Scheduling, dimming, zone control |
| Stainless or premium housing | Varies | $500-$1,200+ | Coastal, high-moisture, design-forward installs |
These are part prices. A professional replacement adds labor, and the labor is where the quote moves: a straight swap on an accessible transformer is a short service call, while relocating a transformer, re-terminating a crowded terminal block, or adding a new circuit can push the job into a half-day or more. Most service providers apply a minimum service-call charge, so a small transformer swap often costs more in labor than in parts.
Size the Replacement Before You Buy
A transformer that fails usually does so for one of three reasons: it was undersized for the number of fixtures added over the years, it overheated in an enclosed location, or a surge took it out.
The math is simple and worth doing before you shop:
- Add the wattage of every fixture on the system (a typical LED path light draws roughly 3-7W; older halogen fixtures draw 20-50W each).
- Add 10-20% headroom for future fixtures and for the fact that transformers run cooler and last longer below their ceiling.
- Choose a transformer rated at or above that total.
A homeowner who started with eight halogen fixtures and added six LED path lights over the years may be running a 300W transformer near its limit without realizing it.
Compatibility and Electrical Specifications
A transformer replacement is only as good as its compatibility with the rest of the system:
- Voltage tap: most residential transformers step 120V down to 12V, but many multi-tap units offer 12V, 13V, 14V, and 15V taps to compensate for voltage drop on long runs. Match the tap to the run length.
- LED compatibility: older magnetic transformers can cause LED flicker, buzz, or premature driver failure. If the system is all LED, confirm the replacement is rated for LED loads (many list a minimum load, and running too few watts on a large transformer can also cause flicker).
- Terminal and connector type: low-voltage terminal blocks vary; confirm the replacement accepts the existing cable gauge and that you have the right waterproof connectors for the new terminals.
Professional installation matters more here than anywhere else in the system. The low-voltage connections at the transformer terminals are where improper work shows up first, and a loose or corroded terminal is a fire-risk and a guaranteed callback.
Cost to Replace Landscape Lighting Fixtures
The cost to replace landscape lighting fixtures depends on fixture type, material, finish, and how many units you are swapping. A single path light is a modest job. Replacing a dozen uplights across a facade is a project, and the per-fixture price drops as the count rises because the labor is shared across the run.
Per-Fixture Price Ranges
Fixture pricing breaks down by material and build quality. As a planning range for parts only:
| Fixture type | Typical part price | Notes |
|---|---|---|
| Entry-level composite or plastic path light | $15-$40 | Affordable, but degrades in sun and cold |
| Cast aluminum path light or uplight | $40-$120 | The mid-range workhorse, holds finish well |
| Solid brass or copper fixture | $80-$250+ | Ages to a patina, lasts decades |
| Integrated LED fixture | $60-$200 | No bulb to replace; driver is built in |
| Custom or design-order fixture | Priced per specification | Lead times and finish options drive cost |
These are part prices. Installed cost per fixture adds labor, and the labor is what makes a one-fixture job look expensive on paper: a service call to swap a single path light can cost more in labor than the fixture itself. On a multi-fixture replacement, the per-unit labor falls because the technician is already on site and the run is already exposed.
What Changes the Quote
- Fixture count: the single biggest lever. Ten fixtures cost far less per unit than one.
- Access: fixtures buried in mature landscaping, set in concrete, or mounted high on a facade take longer to reach and swap.
- Existing wire and connectors: whether the old cable and splices can be reused safely.
When we quote a fixture replacement, we factor in whether the existing wire and connectors can be reused. On a system more than a decade old, reusing old connectors behind new fixtures is a false economy. The new fixture fails within a season because the splice behind it was already corroding.
Compatibility Checklist Before You Buy
A replacement fixture that does not match the system is a return and a second service call. Confirm these before ordering:
- Voltage: most residential systems run 12V, but confirm the tap setting at the transformer. A 12V fixture on a 15V tap runs hot and fails early.
- Socket type: bi-pin, wedge, and integrated LED fixtures are not interchangeable. Match the socket to the bulb or module you plan to use.
- Wattage: stay within the transformer's remaining capacity. Swapping halogen fixtures for LED frees up wattage; swapping LED for halogen can overload the run.
Landscape Lighting Wiring Repair: What You Pay for Cable and Connections
Landscape lighting wiring repair is the least visible cost and often the hardest to estimate, because the wire is underground. Direct-burial low-voltage cable itself is inexpensive per foot.
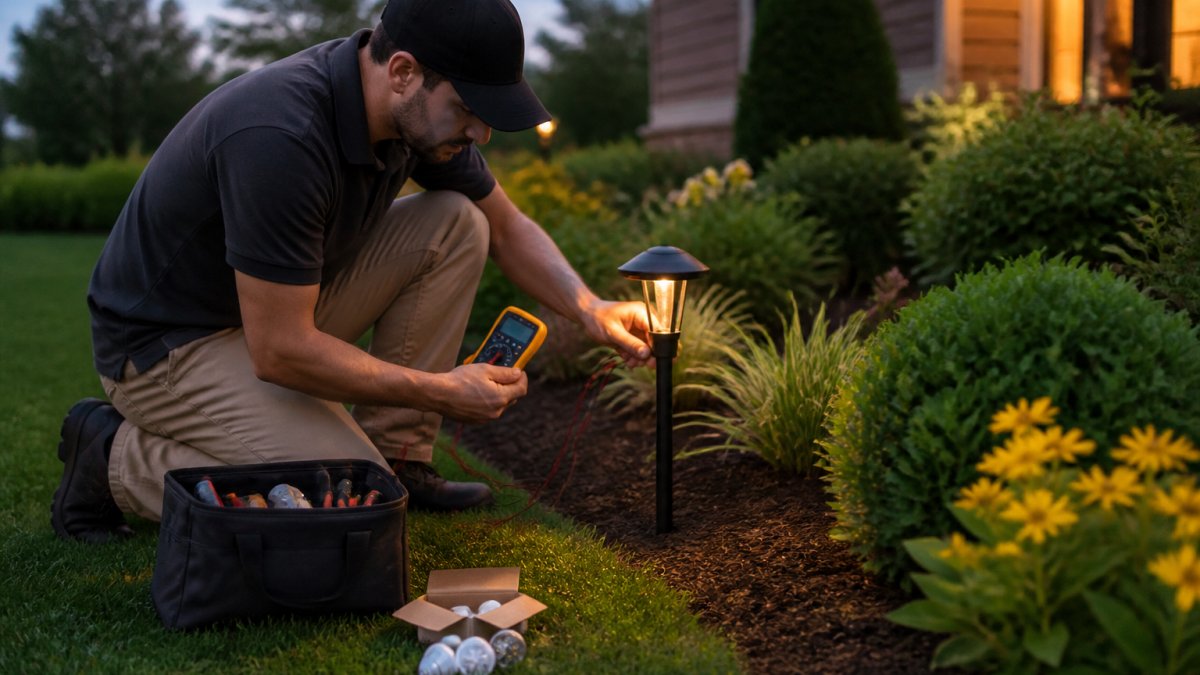
Diagnostic work comes first. A technician isolates the failed run by testing voltage at each fixture, then traces the break. Common culprits:
- Nicked cable from a shovel, edger, or aerator
- Corroded connectors at a splice point
- Water-filled fixture bodies shorting the run
Voltage drop is the other wiring issue homeowners run into. Long cable runs on undersized wire deliver less voltage to the far fixtures, so the last lights on the run look dim.
Repair vs. Replace vs. Upgrade Your Low-Voltage Lighting System
The decision comes down to system age, failure frequency, and what you want the lighting to do. Repair makes sense for a single failed fixture on a system under ten years old. Replace makes sense when failures are spreading across multiple fixtures.
Use this decision framework:
| Situation | Best Move | Why |
|---|---|---|
| One dead fixture, system under 10 years | Repair | Isolated failure, low cost |
| Repeated failures across several fixtures | Replace in stages | Corrosion is systemic |
| Transformer failed and load has grown | Upgrade transformer | Size up for current load |
| Dim far-end fixtures on long runs | Re-run cable | Voltage drop, not a part failure |
| Working system, outdated output | Upgrade to LED | Efficiency and control |
Our advice: do not pour repair money into a system that is failing in multiple places. Once connectors and sockets start going, the whole run is on the same clock, and staged replacement can be more cost-effective over time than repeated emergency repairs.
Frequently Asked Questions
How much does it cost to replace a low-voltage landscape light?
The cost depends on what failed. Replacing a single LED bulb or socket is usually the least expensive fix. Replacing an entire fixture costs more because you pay for the fixture itself plus labor if a professional does the work. Wiring faults add diagnostic time. Because every property has a different number of fixtures and wire runs, ask for an itemized quote that separates parts from labor so you can compare bids fairly.
Can you replace low-voltage landscape lights without replacing the wiring?
Yes, in many cases. If the existing cable and connectors are intact and the voltage at each fixture is within the transformer's rated range, new fixtures can go on the old wire. The catch is compatibility: the new fixtures must match the system's voltage and the transformer must have enough wattage capacity for the total load. A technician should test the wire runs before you buy fixtures, because replacing fixtures on damaged wire just moves the failure downstream.
When should you repair a landscape lighting system instead of replacing it?
Repair usually wins when the failure is isolated: one dead bulb, a corroded connector, a cracked lens, or a tripped transformer. Replace or upgrade when failures keep repeating across multiple fixtures, the transformer is undersized for a growing system, or the fixtures are old enough that parts are hard to source. A practical rule is to compare the repair quote against the cost of a new fixture or transformer; once repairs approach half the price of new equipment, replacement is often the better value.
How long do low-voltage landscape lighting systems last?
Lifespan varies by component. LED bulbs typically outlast halogen by a wide margin, while fixtures last longer when they are rated for outdoor exposure and installed with waterproof connectors. Transformers tend to be the limiting factor if they are undersized or mounted where water collects. Wiring lasts decades when connections stay dry, but corroded splices are a common early failure. Regular inspections, especially after winter, catch most problems before they take out a whole zone.
A failing low-voltage system is a puzzle, and guessing at parts gets expensive fast. Paramount Outdoor Lighting Group designs, installs, and services expertly crafted low-voltage lighting, backed by four specialist divisions and decades of experience, so the diagnosis is right the first time. Request a walk-through and we will assess your existing system, identify what actually needs replacing, and give you a straight answer on repair versus upgrade.