
Professional Outdoor Lighting Design Consultation Guide
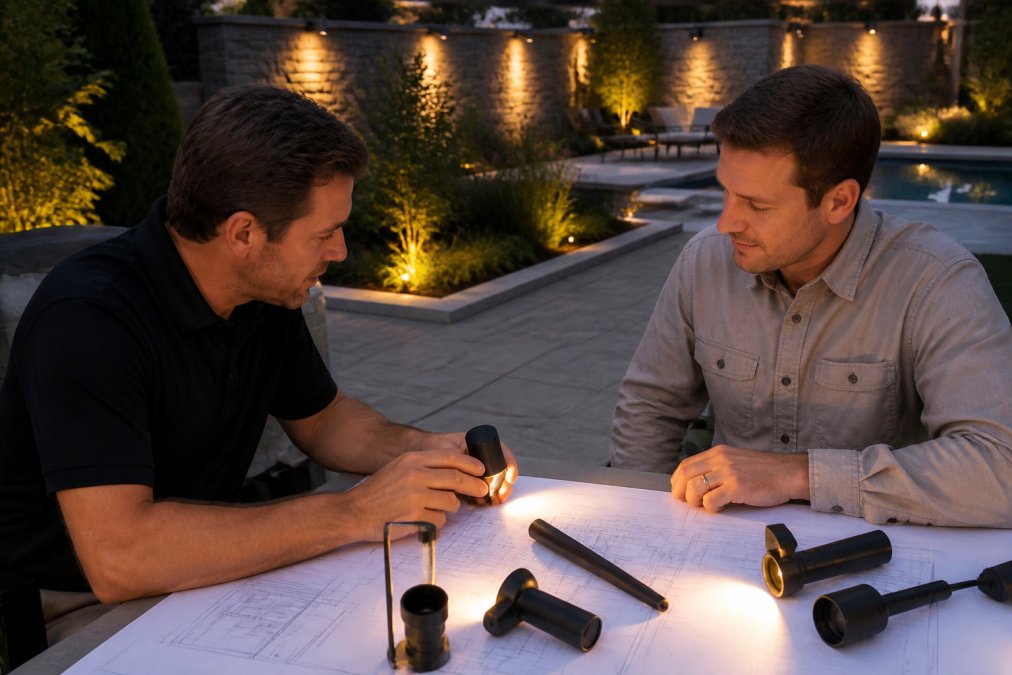
Table of Contents
- What a Professional Outdoor Lighting Design Consultation Actually Covers
- Landscape Lighting Techniques and Architectural Illumination Strategies
- How to Choose the Right Color Temperature for Outdoor Lights
- Energy Efficiency, Smart Home Integration, and Light Pollution Compliance
- Outdoor Lighting Design Cost Estimate: What Shapes the Price
- The Outdoor Lighting Installation Process from Start to Finish
- Safety, Security, and Curb Appeal Benefits of Professional Outdoor Lighting
- Conclusion
Last Updated: August 19, 2026
What a Professional Outdoor Lighting Design Consultation Actually Covers
A professional outdoor lighting design consultation is a structured, on-site evaluation where a certified designer assesses your property's architecture, landscaping, and site conditions to build a lighting plan tailored specifically to your home or business. At Paramount Outdoor Lighting Group, this process goes far deeper than pointing a few fixtures at your front door and calling it done.
The designer reads your site the way a cinematographer reads a set: identifying focal points, problem areas, shadow zones, and opportunities that only become visible after the sun goes down. That's why the most valuable part of any consultation happens at dusk.
The Walk-Through: Reading Your Property at Night
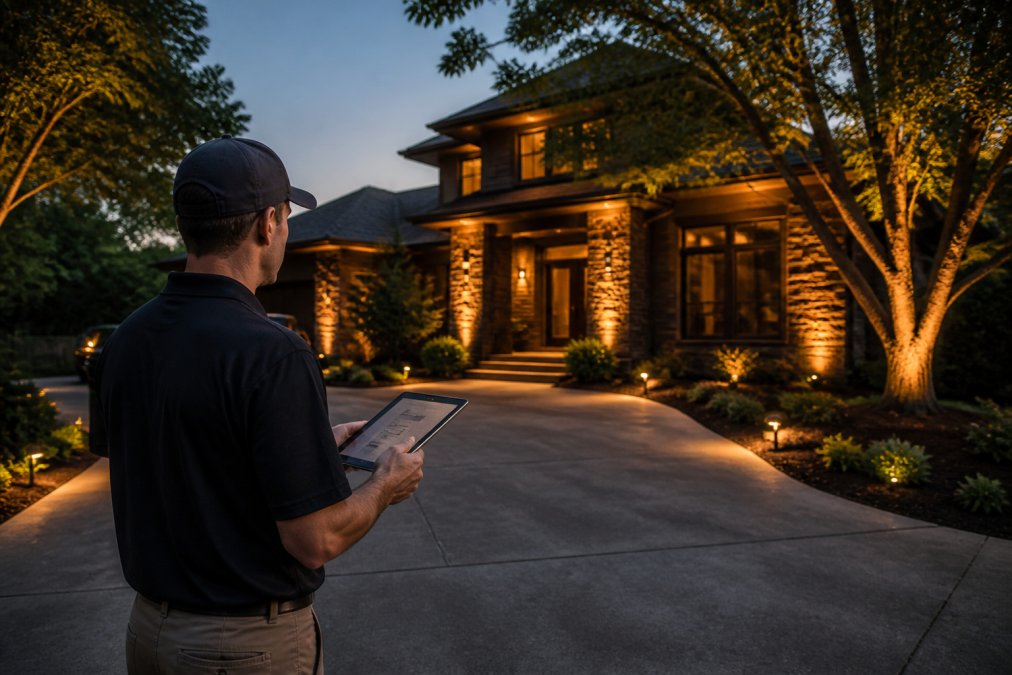
A proper nighttime walk-through is the foundation of every effective outdoor lighting design. The designer walks the perimeter of your property, noting which architectural features deserve emphasis, where path lighting is needed for safety, and which trees or landscape elements can anchor the overall composition.
A skilled designer thinks in layers: Where does the eye naturally travel when someone approaches the front entrance? Which facade elements create depth when lit from below? Where does darkness create a security gap? The designer also identifies practical constraints: existing electrical infrastructure, irrigation lines affecting fixture placement, and any areas where light trespass onto neighboring properties could become a problem.
Building Your Custom Design Plan
After the walk-through, the designer translates observations into a custom design plan: a photometric layout that maps fixture types, beam spreads, color temperatures, and transformer placement across your property. This accounts for the specific geometry of your lot, the materials of your home's exterior, and your stated goals, whether that's security, curb appeal, entertaining, or all three.
The plan includes a project estimate, fixture specifications, and a phasing recommendation if you want to build the system out over time.
Landscape Lighting Techniques and Architectural Illumination Strategies
Effective outdoor lighting design is not about flooding a property with light. It's about directing attention, creating contrast, and building a nighttime aesthetic that feels intentional rather than accidental.
Lighting Layering: Path, Accent, and Wash Lighting
Lighting layering combines multiple fixture types and techniques to create depth and visual hierarchy across a property. The three foundational layers are:
- Path lighting: Low-profile fixtures that define walkways, driveways, and garden borders, serving both safety and structural functions.
- Accent lighting: Directional fixtures used to highlight specific features: specimen trees, sculptures, water features, or architectural details. Beam spread and lumen output are calibrated to the size of the target.
- Wash lighting: Wide-beam fixtures mounted at grade or on structures to bathe large surfaces, such as a brick facade or hedge line, in even, diffused light.
The mistake most DIY systems make is skipping the wash layer entirely, resulting in bright spots on a dark background that reads as dramatic rather than refined.
Silhouette, Uplighting, and Facade Techniques
Beyond the three base layers, architectural illumination strategies add character and specificity:
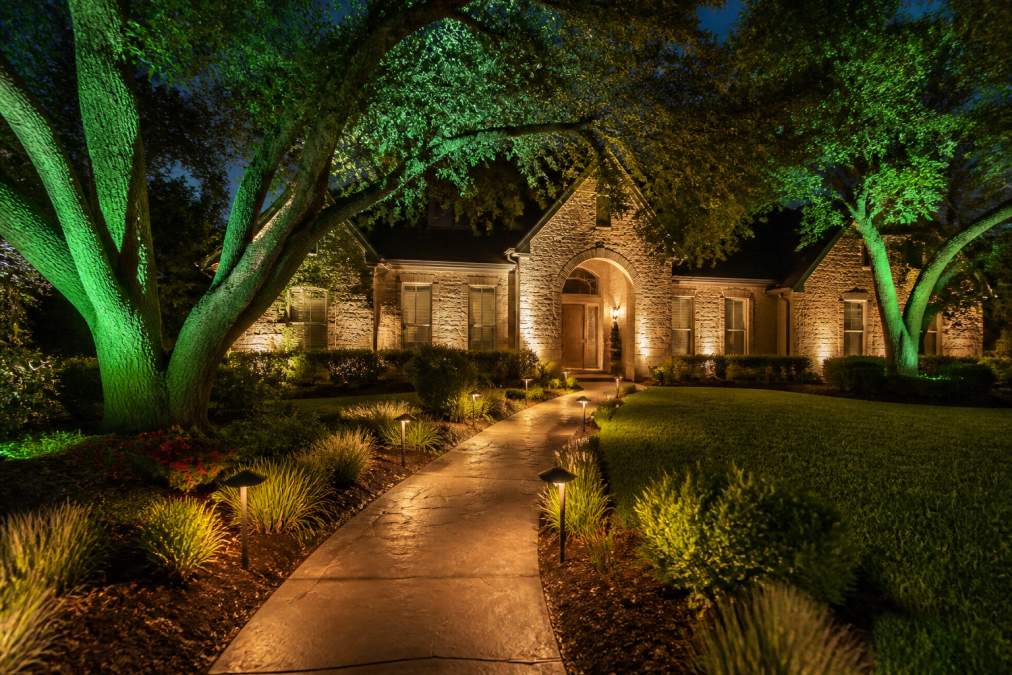
- Uplighting: Fixtures placed at the base of a tree or architectural element, angling light upward. This mimics how we experience dramatic natural light.
- Silhouetting: A fixture placed behind a plant or object, aimed at a wall, creates a striking shadow profile. This works especially well with ornamental grasses and open-branched trees.
- Facade grazing: Fixtures mounted close to a textured surface and angled nearly parallel to it, exaggerating the texture of stone, brick, or wood. Particularly effective on older homes with architectural character.
Each technique requires precise fixture placement and beam spread selection. Getting these wrong produces glare, hot spots, or flat, uninteresting light.
How to Choose the Right Color Temperature for Outdoor Lights
Color temperature is one of the most consequential decisions in outdoor lighting design, and it's the one most often made by guesswork.
Color temperature is measured in Kelvins (K) and describes the warmth or coolness of a light source. For residential outdoor applications, the practical range runs from roughly 2700K to 4000K, and the choice changes the entire character of a property at night.
| Color Temperature | Appearance | Best Application |
|---|---|---|
| 2700K | Warm amber/gold | Residential facades, garden beds, path lights |
| 3000K | Warm white | Trees, architectural accents, mixed landscapes |
| 3500K | Neutral white | Driveways, steps, commercial entries |
| 4000K | Cool white | Security zones, commercial properties, modern architecture |
For most residential properties, 2700K to 3000K produces the most natural and flattering result. Cooler temperatures above 3500K can make warm-toned brick or wood siding look clinical and flat.
According to the Illuminating Engineering Society guidelines on outdoor lighting, warmer color temperatures also reduce skyglow and light pollution impact, which matters in areas with dark-sky ordinances. Match your color temperature to your interior lighting where the two are visible simultaneously to avoid jarring visual disconnects.
Energy Efficiency, Smart Home Integration, and Light Pollution Compliance
LED technology has transformed what's possible in outdoor lighting design. Modern LED fixtures consume a fraction of the energy of older halogen systems while delivering better color rendering, longer service life, and greater design flexibility.
Low-voltage LED systems, typically running on 12V transformer-fed circuits, are now the standard for residential landscape lighting. The energy savings over a full season are meaningful, and the reduced heat output extends fixture life significantly.
Smart home integration allows you to program scenes, set schedules, and adjust brightness from a smartphone or integrate with platforms like Google Home or Amazon Alexa. Dimming capabilities let you shift from a bright entertaining configuration to a subtle security mode without changing a single fixture. backyard renovation costs.
Light pollution compliance is increasingly important. The International Dark-Sky Association's guidance on responsible outdoor lighting recommends fixtures with full shielding, warm color temperatures below 3000K, and motion-sensing controls to minimize unnecessary light scatter. Many municipalities are adopting dark-sky ordinances that restrict upward-facing fixtures and set lumen limits for residential properties. A professional designer will factor local compliance requirements into the fixture selection and placement plan.
Outdoor Lighting Design Cost Estimate: What Shapes the Price
Pricing for outdoor lighting design and installation varies based on several factors. Paramount Outdoor Lighting Group provides detailed project estimates following the design consultation, so you know exactly what you're committing to before work begins.
The primary cost drivers are:
- Property size and complexity: A simple front-entry design with 10 fixtures differs from a full-perimeter landscape and architectural system with 40-plus fixtures.
- Fixture quality and specification: Weather-resistant, commercial-grade brass and copper fixtures carry higher upfront cost but outperform plastic alternatives by years in a Midwestern climate.
- Transformer capacity and wiring runs: Larger systems require higher-capacity transformers and longer low-voltage wiring runs, affecting installation labor.
- Smart controls and integration: Adding lighting control systems, dimmers, and smart-home integration adds cost but also long-term flexibility.
Request a walk-through with a designer before accepting any estimate. A quote without a site visit is a guess.
ROI and Property Value: Why Professional Design Pays Off
Professional outdoor lighting design is not a pure aesthetic expense. According to the National Association of Realtors' research on outdoor features and home value, well-executed landscape improvements, including lighting, consistently rank among the highest-return exterior upgrades when a home is listed for sale.
Beyond resale value, a professionally designed system extends the functional hours of your outdoor living space. A patio that's unusable after 8 PM becomes a year-round entertaining asset when lit properly. For restaurant owners and commercial properties, that directly affects revenue.
The Outdoor Lighting Installation Process from Start to Finish
The outdoor lighting installation process follows a defined sequence:
- Design consultation and site walk-through
- Design plan approval and fixture selection
- Trenching and conduit placement (for buried cable runs)
- Transformer mounting and electrical connection
- Fixture installation and initial aiming
- System testing, voltage verification, and fine-tuning
- Client walk-through and controls programming
Most residential installations complete within one to three days, depending on system size. Commercial projects with multiple zones and complex wiring runs take longer.
Low-Voltage Wiring, Transformer Installation, and Voltage Drop
Low-voltage systems operate at 12V AC, fed from a transformer connected to a standard 120V household circuit. The transformer steps down the voltage and typically includes a timer, photocell, or smart-control interface.
Voltage drop is the most common cause of lighting system failures. It occurs when the resistance of a long wire run reduces the voltage reaching the fixture below its operating threshold. A professional installer calculates voltage drop for every circuit before running wire, sizing conductors and transformer outputs to keep each fixture within its rated voltage range.
Wiring standards for low-voltage landscape lighting follow the National Electrical Code requirements for low-voltage outdoor systems, which govern burial depth, connector types, and transformer installation requirements. A professionally installed system meets these standards. Many DIY systems do not.
Maintenance Schedule and Troubleshooting Common Problems
A well-installed low-voltage system requires minimal maintenance. A reasonable annual schedule includes:
- Spring: Inspect all fixtures after winter. Clear debris from fixture housings. Check for frost heave that may have shifted in-ground fixtures.
- Summer: Verify that plant growth hasn't blocked fixture beams or buried fixture heads. Re-aim any fixtures that have shifted.
- Fall: Check transformer connections. Test all circuits before the holiday season if the system doubles as a decorative platform.
- After any storm: Walk the property and check for physical damage to fixtures or exposed wire connections.
The most common troubleshooting issues are: a single dark fixture (usually a failed lamp or loose connection), a full dark zone (usually a failed circuit connection at the transformer or a cut wire), and flickering across multiple fixtures (usually a voltage drop problem).
Safety, Security, and Curb Appeal Benefits of Professional Outdoor Lighting
The benefits of professional outdoor lighting design extend well beyond aesthetics.
Safety is the most immediate benefit. Path lighting eliminates trip hazards on steps, grade changes, and irregular paving. Security lighting at entry points, garage areas, and perimeter zones reduces concealment opportunities that make a property attractive to intruders. According to U.S. Department of Justice research on environmental design and crime prevention, well-lit exteriors are a documented deterrent to opportunistic property crime.
Curb appeal is the more visible benefit. A property that reads well at night from the street has a presence that daylight photos cannot capture. For homeowners preparing to sell, that nighttime impression matters: buyers drive neighborhoods after dark, and a dark house next to a well-lit one loses the comparison immediately.
Outdoor ambiance is the benefit that changes how you actually use your property. A professionally lit patio, garden, or pool area becomes a destination rather than a space you vacate when the sun goes down. For restaurant owners, that ambiance directly shapes the guest experience and the willingness to stay longer.
Homeowners often discover that the outdoor living space they've been underusing is the most valuable square footage on their property once it's properly lit. Paramount Outdoor Lighting Group's four specialist divisions, backed by decades of experience and authorized JellyFish Lighting dealership, exist to solve exactly that problem. From the initial walk-through to transformer installation, fixture aiming, and annual maintenance, every step is handled by professionals who understand both the technical requirements and the design principles that make the difference between a lighting system and a lighting experience. Request a walk-through and see what your property looks like when it's done right.
Frequently Asked Questions
What should I prepare for an outdoor lighting design consultation?
Before the consultation, walk your property at night and note any dark spots, areas that feel unsafe, or architectural features you want highlighted. Gather any HOA guidelines that restrict fixture styles or brightness. If you have existing fixtures, note what you like or dislike about them. Having a rough sense of your priorities, security, curb appeal, entertaining, helps the designer build a custom plan that fits your goals from the first meeting.
Does a lighting design consultation include installation estimates?
A professional outdoor lighting design consultation typically results in a full project estimate covering fixture selection, transformer installation, wiring, and labor. The designer maps fixture placement, calculates voltage drop across each run, and factors in the complexity of your property. Because every home or commercial space differs in size and scope, pricing is customized. Contact Paramount Outdoor Lighting Group to request a walk-through and receive an estimate specific to your property.
How does color temperature impact outdoor lighting design?
Color temperature, measured in Kelvins, determines whether your outdoor lighting looks warm and welcoming or crisp and bright. Fixtures in the 2700K-3000K range cast a warm white glow that flatters stone, brick, and wood and suits most residential landscapes. Cooler temperatures around 4000K-5000K work better for security-focused or commercial applications where visibility matters more than ambiance. Choosing the wrong color temperature is one of the most common mistakes homeowners make, a professional designer matches Kelvin range to each zone of your property.
What are the current trends in residential outdoor lighting design for 2026?
Smart home integration is the dominant trend in 2026, with lighting control systems that sync to apps, voice assistants, and astronomical timers replacing basic on/off switches. Warm-toned LED technology with high color rendering continues to replace older halogen systems. Designers are also paying closer attention to dark sky compliance, using fully shielded, downward-directed fixtures to reduce light pollution. Permanent architectural LED systems that handle both everyday ambiance and holiday color displays are growing rapidly in popularity among homeowners.
This article was written using GrandRanker