
Avoid Fake Looking Exterior Lighting: Design Guide
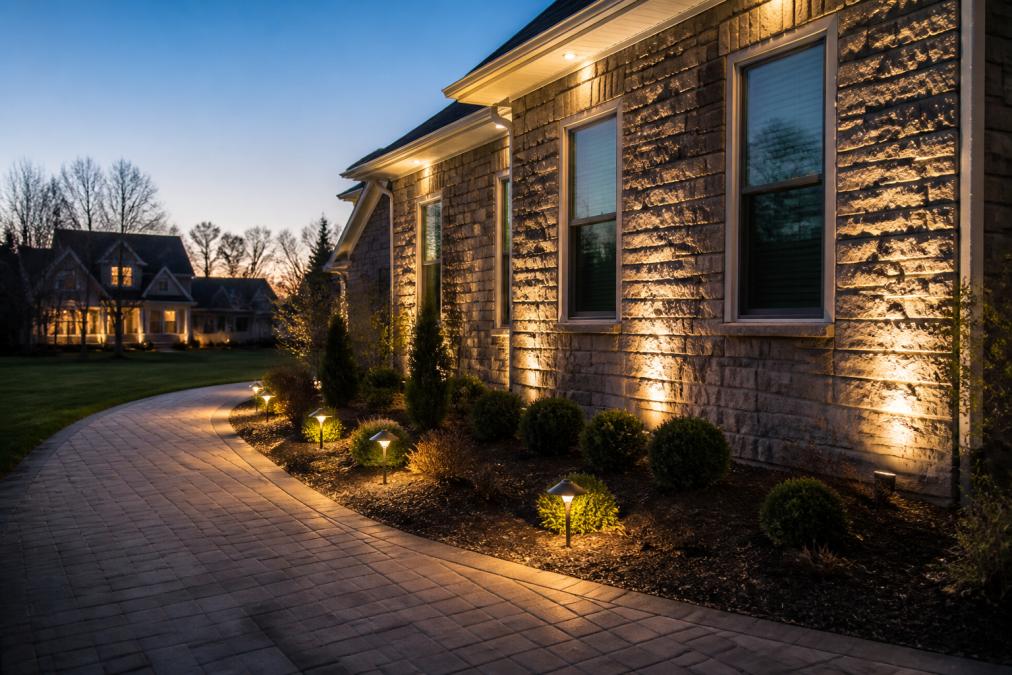
Table of Contents
- Why Exterior Lighting Often Looks Fake
- Best Color Temperature for Outdoor Lighting
- How to Layer Outdoor Landscape Lighting
- Outdoor Lighting Glare Reduction Techniques
- Matching Lighting to Your Home's Architectural Style
- Budget-Friendly Upgrades That Avoid the Fake Look
- Conclusion
Last Updated: August 25, 2026
Why Exterior Lighting Often Looks Fake
The problem isn't taste, it's that most exterior lighting installations violate basic principles of how light behaves in the real world. Fake-looking lighting typically stems from three issues: wrong color temperature, excessive brightness without layering, or fixture placement that creates harsh glare. Builders and installers often default to bright, cool-white fixtures positioned to uniformly "light up" the facade, creating a sterile, uninviting appearance.
Real professional exterior lighting uses warm color temperatures, strategic layering of ambient and accent light, and thoughtful fixture placement to create depth and dimension. The goal is to make the home look better at night than during the day, not to flood it with light.
At Paramount Outdoor Lighting Group, we've spent decades analyzing what separates naturally elegant properties from over-lit ones. The distinction comes down to understanding how color temperature, light intensity, layering, and fixture scale work together. This guide walks you through each principle so your exterior lighting enhances your home's architecture rather than fighting against it.
Best Color Temperature for Outdoor Lighting
The single most important decision in exterior lighting is color temperature. Get this wrong, and careful placement won't save the design.
Warm White vs. Cool White Light
Warm white light (2700K to 3000K) mimics incandescent bulbs and natural sunset, creating an inviting, residential atmosphere (ies.org). Cool white light (4000K to 5000K) is bright and clinical, resembling office or retail environments (ies.org). For residential exterior lighting, warm white is almost always correct. Cool white belongs on commercial properties or security applications where visibility matters more than ambiance.
Warm light draws people in and suggests comfort and safety. Cool light feels institutional and impersonal, the opposite of what you want on your home's exterior. Restaurants and high-end residential properties consistently use warm white because it works. Budget-conscious installers often default to cool white because it's cheaper and brighter on spec sheets. That's why so much exterior lighting looks fake: it prioritizes lumens over character.
For holiday lighting and special occasions, warm white remains standard. The exception is architectural accent lighting on stone, brick, or modern materials where cool white can enhance texture, but mixing temperatures creates visual confusion. Stick with one dominant temperature throughout your property.
Kelvin Scale and Lumens Explained
Color temperature is measured in Kelvin (K). Lower numbers (2000K-3000K) produce warm, amber tones. Higher numbers (4000K and above) produce cool, blue tones. For residential exterior lighting, 2700K is ideal for ambient and accent lighting. Some designers use 3000K for pathway lighting to maintain warmth while increasing visibility.
Lumens measure light output. More lumens doesn't automatically mean better lighting. Excessive lumens without proper layering and shielding create the "fake" look. A well-designed space uses fewer lumens strategically placed rather than high-lumen fixtures blasting light everywhere. Modern LED technology achieves excellent visibility with far fewer lumens than older halogen systems, giving you more control over appearance.
A 500-lumen fixture with proper shielding and placement outperforms a 1000-lumen unshielded fixture. The difference between professional and fake often comes down to using the right lumen level for each fixture type and location.
How to Layer Outdoor Landscape Lighting
Professional exterior lighting uses three distinct layers working together. Most fake-looking installations use only one: a single bright light blasting the entire facade. Layering separates amateur installations from intentional, elegant designs.
Ambient, Task, and Accent Lighting
Ambient lighting provides general illumination for safety and navigation, pathway lighting, entry lighting, and general area illumination. It should be subtle, enough to see where you're walking without creating glare. Warm white, moderate lumens, and low-positioned fixtures work best.
Task lighting illuminates specific functional areas: near your front door for security and key entry, around a patio for entertaining, or along stairs for safety. It's brighter than ambient but still warm white, positioned to serve a purpose rather than showcase the property.
Accent lighting highlights architectural features, landscaping, or design elements. This is where your home's character emerges. Accent lighting uses warm white (or occasionally cool white on modern materials) to illuminate interesting textures, shapes, or details. A well-lit tree, stone wall, or uplighting on columns creates visual interest and depth.
The fake look happens when installers skip ambient and task layers and jump straight to bright accent lighting everywhere. Real professional design uses all three layers in proportion to each other.
Downlighting vs. Uplighting Techniques
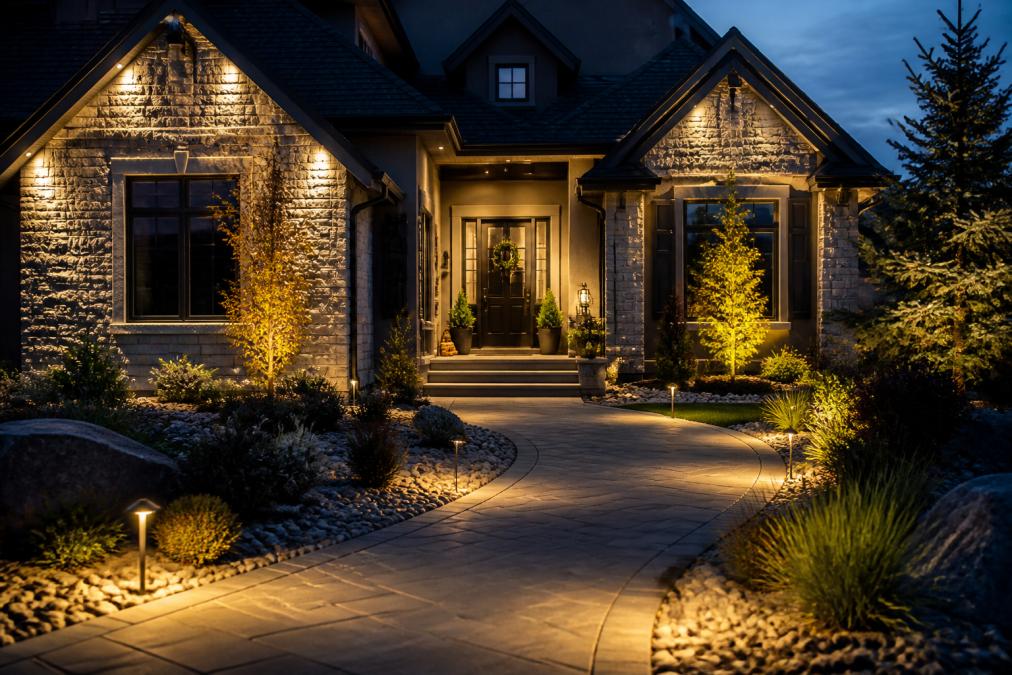
Downlighting (light directed downward) is your workhorse for pathway lighting, entry lighting, and general area illumination. It mimics natural light from the sun and sky, so it feels familiar and right. Most of your exterior lighting should be downlighting.
Uplighting (light directed upward) is your accent tool. Uplighting a tree, stone wall, or architectural columns creates drama and visual interest. Use it sparingly and strategically. Too much uplighting creates an artificial, theatrical appearance. The best designs use uplighting on 10-20% of the property's features, just enough to add dimension without overwhelming the space.
A common mistake is using uplighting as general illumination. This creates the harsh, fake look because uplighting casts shadows upward, opposite to how natural light works. Your brain registers this as wrong. Reserve uplighting for accent purposes only.
If 80% of your lighting is downlighting and 20% is strategic uplighting, the result looks professional and intentional. If the ratio reverses, you're in theatrical territory.
Outdoor Lighting Glare Reduction Techniques
Glare is the enemy of professional exterior lighting. Uncontrolled glare makes spaces feel harsh, creates safety issues, and signals poor design. Reducing glare is one of the fastest ways to make your exterior lighting look intentional rather than fake. outdoor kitchen design.
Controlling Light Pollution and Light Trespass
Light pollution occurs when outdoor lighting scatters into the sky, washing out stars and creating a glow dome over residential areas. Light trespass is when light from your fixtures spills onto neighboring properties. Both signal poor design. Professional exterior lighting controls both by using shielded fixtures and strategic positioning.
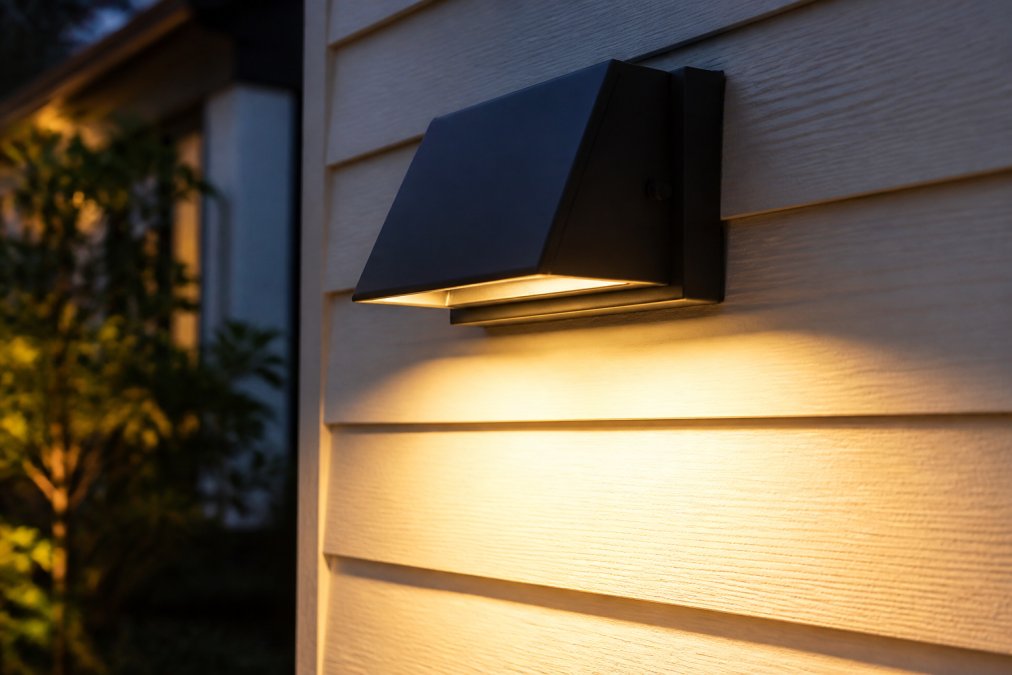
Shielded fixtures direct light downward and toward your property rather than scattering it everywhere. A simple shield or baffle makes an enormous difference. Unshielded fixtures look amateur and create glare that bothers neighbors and wastes energy.
Light trespass affects how your property is perceived. When your lighting spills into a neighbor's bedroom or creates glare across their property, it reads as thoughtless and poorly designed. Professional installations contain light to the intended property.
The fix is straightforward: use shielded fixtures, position lights to direct illumination toward your property, and use warm white (which scatters less than cool white) to minimize light pollution.
Fixture Scale and Weatherproofing
Fixture scale refers to fixture size relative to your home's architecture. Oversized fixtures look fake and out of proportion. Undersized fixtures disappear. The right scale is usually smaller than homeowners expect.
Fixtures should be 8-15% of the height of the architectural element they're lighting (the American Academy of Dermatology). A fixture illuminating a 4-foot entryway should be roughly 4-6 inches tall.
Weatherproofing ensures fixtures survive weather and maintain appearance. Exterior fixtures must be rated for your climate. Look for fixtures rated "wet" (suitable for direct water exposure) rather than "dry" (for covered areas only). In northern climates with freeze-thaw cycles, weatherproofing determines whether your system lasts five years or fifteen.
Low-voltage LED systems are inherently more durable than line-voltage systems because they operate at lower temperatures and have fewer components to fail. This is why professional installers prefer them: they're more reliable and require less maintenance.
Matching Lighting to Your Home's Architectural Style
Your home's architectural style should guide every lighting decision. Modern homes benefit from clean lines and minimal fixtures. Traditional homes look best with fixtures that complement their period details. Mismatched lighting style is another common reason properties look fake.
A modern minimalist home with ornate Victorian-style fixtures looks confused. A traditional colonial home with sleek, contemporary fixtures feels disconnected. The lighting should feel like a natural extension of the architecture.
For traditional homes, look for fixtures with classic proportions and details. Warm white (2700K) is essential. Layering should emphasize architectural features like columns, dormers, and entry details. Uplighting on mature trees adds depth without overwhelming the design.
For modern homes, fixtures should be geometric and refined. Warm white still works but can be slightly cooler (3000K) on materials like concrete or metal. Accent lighting should be minimal and strategic.
For transitional homes, warm white with balanced layering works universally. Focus on avoiding excessive brightness and glare. Let the architecture speak rather than overwhelming it with light.
The principle is consistency. Once you choose a fixture style, stick with it throughout the property. Mixing styles creates visual noise and reinforces the fake look. Professional installations maintain cohesive aesthetics where every fixture appears intentional and coordinated.
Budget-Friendly Upgrades That Avoid the Fake Look
Professional exterior lighting doesn't require unlimited budget. Strategic choices create excellent results at moderate investment. Prioritize impact over quantity.
Start with ambient and task lighting in warm white (2700K). A quality pathway lighting system with 10-12 fixtures costs less than a single high-end accent fixture but transforms how your property functions at night.
Add one or two strategic accent lights to highlight your home's best architectural features. A single uplighted tree or lit stone wall creates far more impact than scattered accent lighting everywhere.
LED technology has made professional-quality lighting affordable. Modern LED fixtures last 50,000+ hours (decades), use minimal energy, and maintain color quality throughout their lifespan. The upfront cost is slightly higher than older halogen systems, but long-term savings and reliability make them the smart choice.
Consider a phased approach: install ambient and task lighting first, then add accent lighting over time as budget allows. This ensures your foundation is solid and prevents investing heavily in accent lighting without proper ambient layers.
Professional installation ensures fixtures are positioned correctly, wired safely, and sealed against weather. DIY installation often leads to costly problems. Low-voltage systems are relatively safe for DIY, but line-voltage exterior lighting should always be installed by licensed electricians.
The difference between professional-looking exterior lighting and fake-looking lighting comes down to understanding how light behaves in real space. Warm color temperature, thoughtful layering, glare reduction, appropriate fixture scale, and architectural alignment work together to create designs that enhance your home's beauty. These principles apply whether you're working with a modest budget or investing comprehensively. The goal is always the same: make your home look better at night while maintaining a natural, intentional appearance. Request a walk-through with Paramount Outdoor Lighting Group to see how these principles transform your property's nighttime presence.
Frequently Asked Questions
What's the best color temperature for outdoor lighting to look natural?
Warm white light between 2700K and 3000K mimics natural sunset and creates an inviting atmosphere without the harsh, artificial feel of cooler temperatures. For accent lighting on architectural details, 2700K works best. Cool white (5000K+) reads as commercial or industrial and should be reserved for security or task lighting where visibility matters more than aesthetics.
How do I avoid glare and light pollution with exterior fixtures?
Use fixtures with shielding or diffusers that direct light downward and prevent it from spilling into the sky or onto neighbors' properties. Choose fixtures rated for the specific application (dry-rated for soffits, wet-rated for exposed areas). Position fixtures low and angle them to avoid pointing directly at eye level. Motion-activated lights reduce unnecessary spillage when no one is outside.
What's the difference between downlighting and uplighting, and when should I use each?
Downlighting (lights mounted above, casting light downward) creates natural shadows and depth, mimicking how the sun works. Use it for pathways, entries, and general illumination. Uplighting (lights below, casting upward) highlights architectural features and trees but can look dramatic or fake if overused. Combine both techniques to create realistic layering that avoids the flat, artificial look of lighting from only one direction.
Can architectural lighting look subtle and natural, or will it always look over-the-top?
Professional exterior lighting enhances your home's existing architecture without drawing obvious attention to itself. The key is restraint: use warm color temperatures, proper fixture scale proportional to your home's size, and layering rather than spotlighting. When done right, guests notice the inviting ambiance and beautiful facade, not the fixtures themselves. Budget-friendly LED options let you start small and expand gradually.
This article was written using GrandRanker